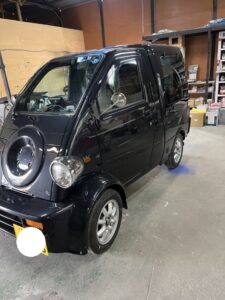
CL7 アコード全塗装 2023年3月
だいぶ期間が開いてしまいましたが施工事例を追加します。
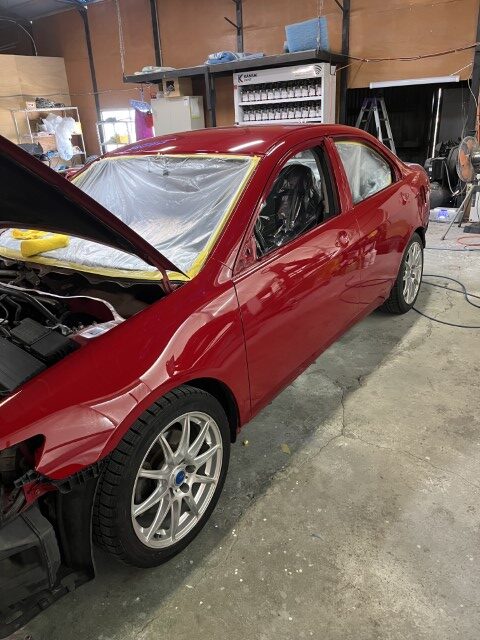
劣化の補修で外装のみの同色全塗装となります。
今回から画像を多めにしてコメントを減らしてみます。
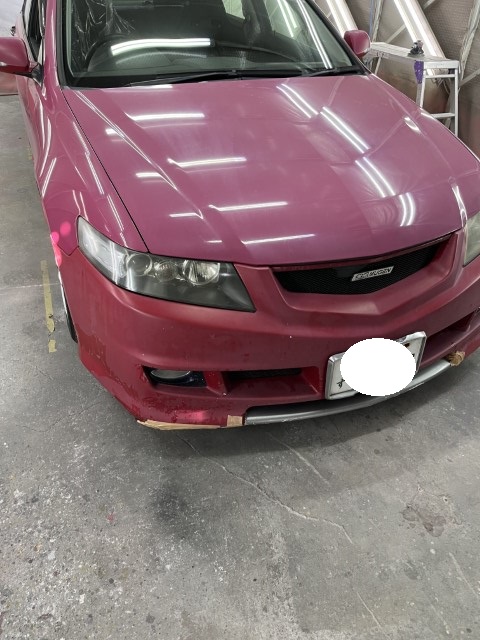
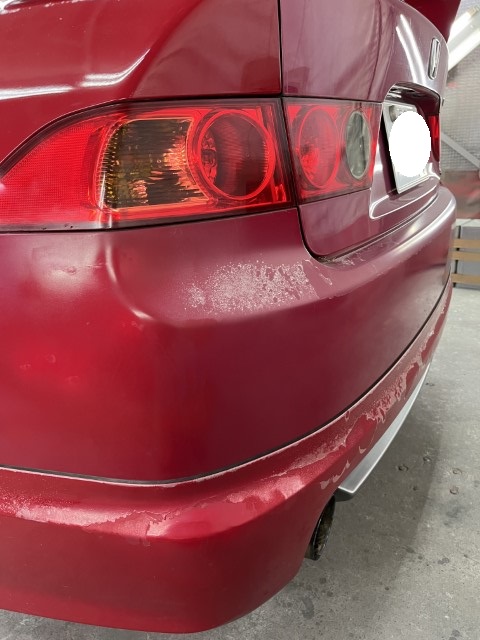
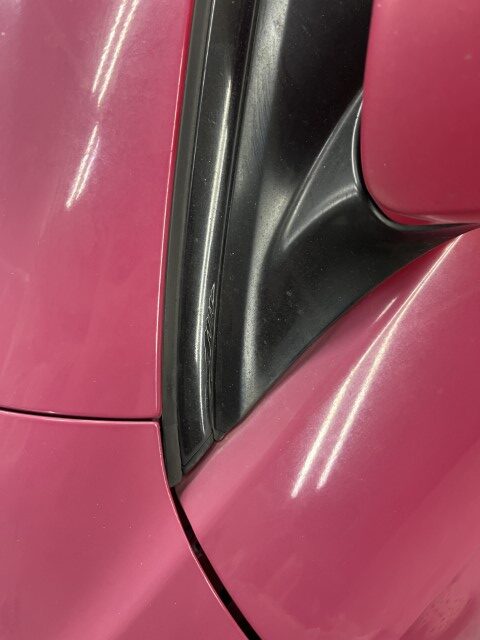

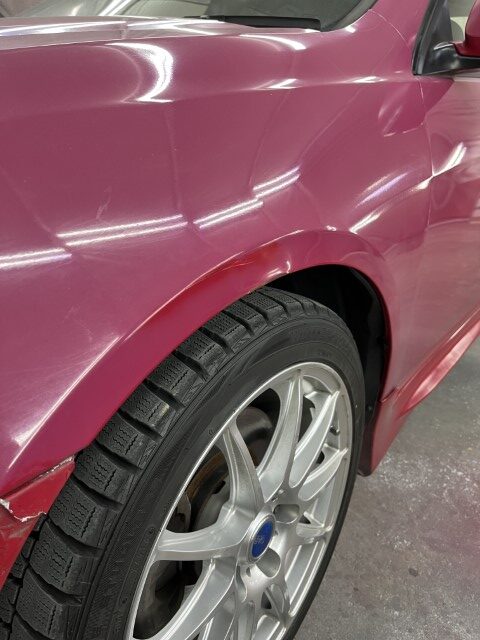
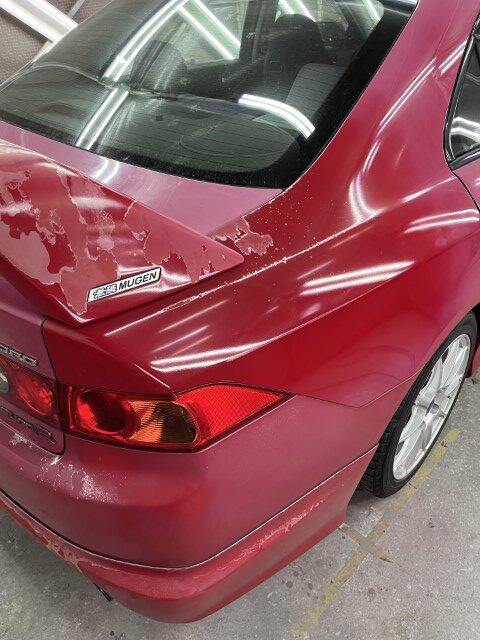
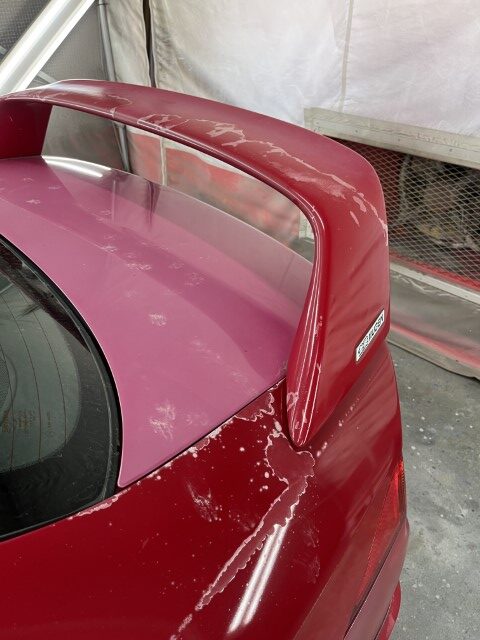

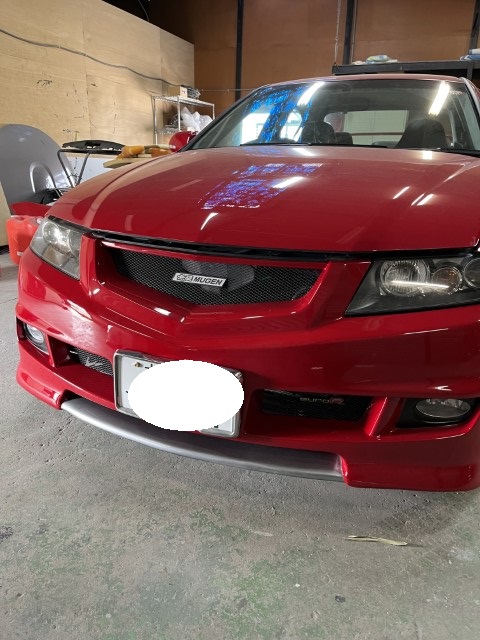
年式相応な感じです。
屋内保管でもない限り年がたてば仕方ないと思います。
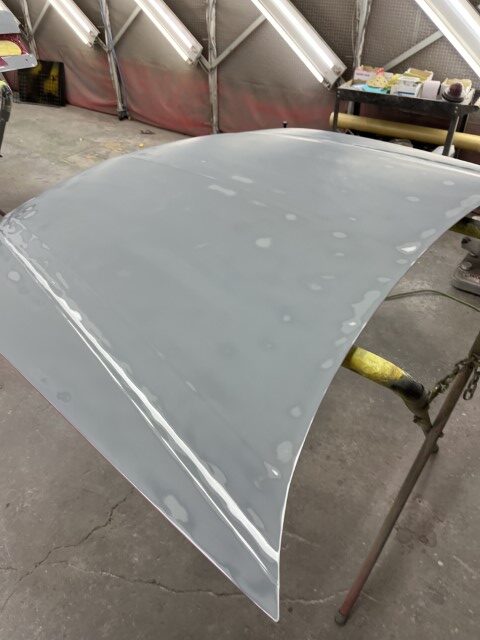
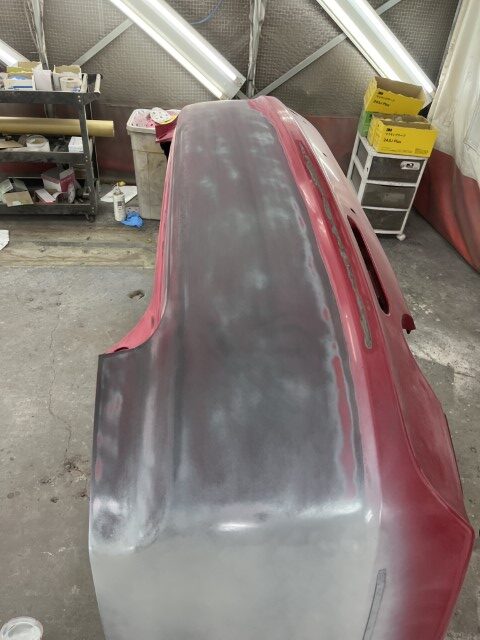
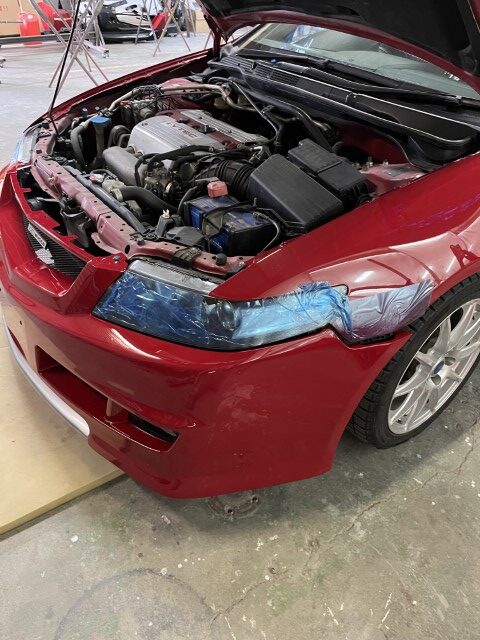
まずは分解してダメになった部分を削っていきます。
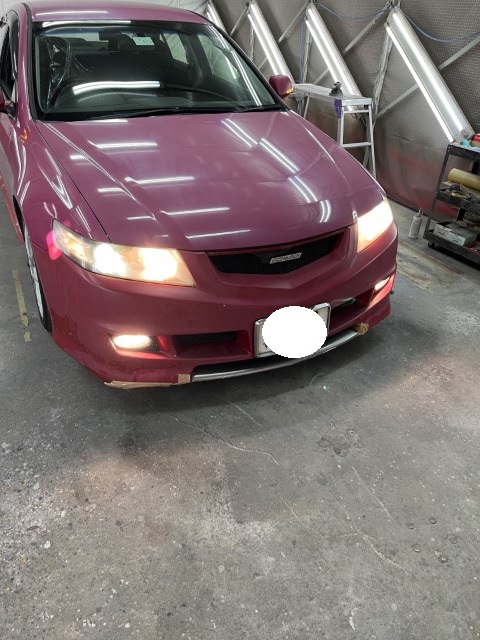
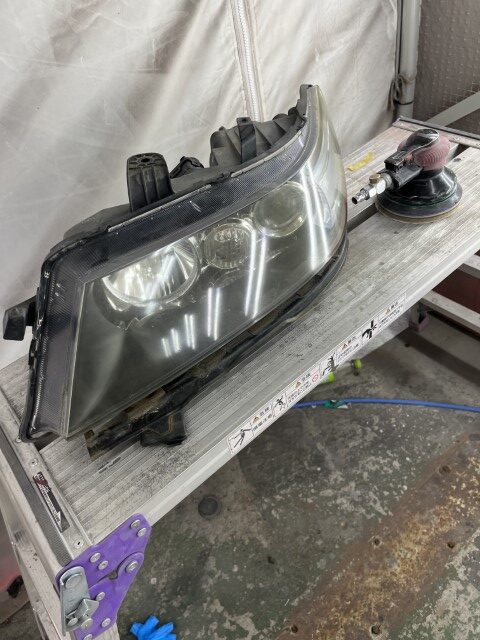
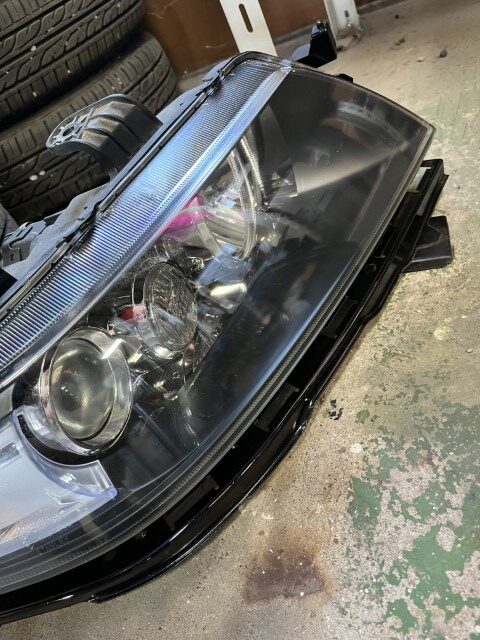
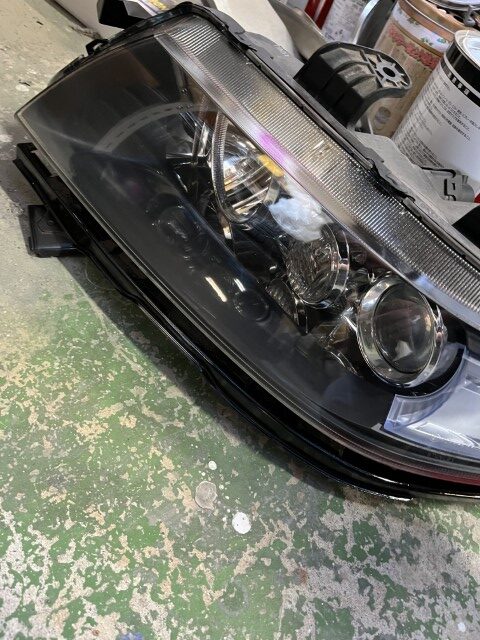
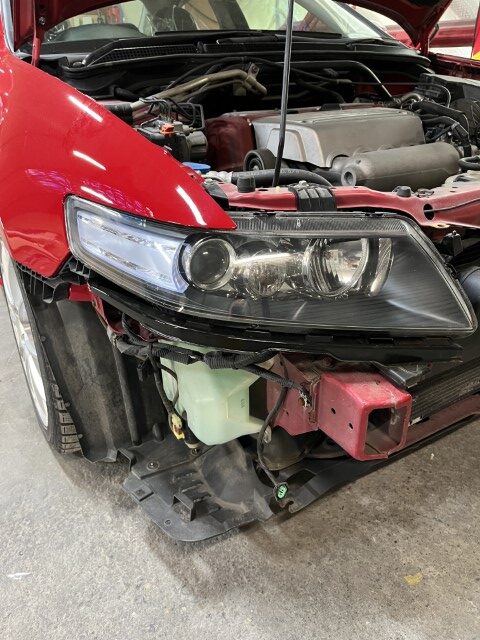
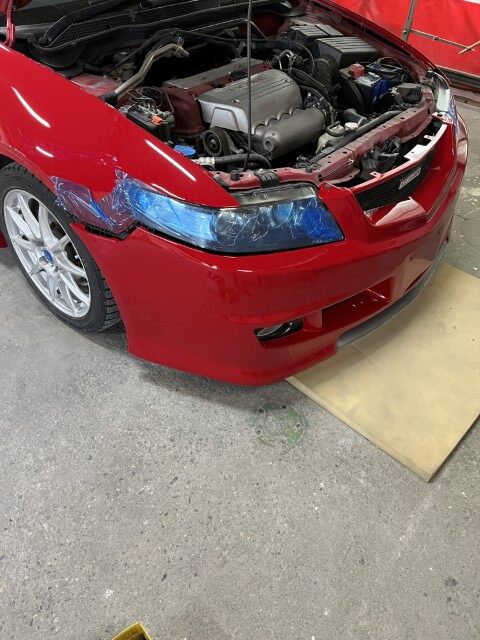
ヘッドライトもくすんでしまっていたのでクリヤを入れて復活です!
新品にはかなわないですが、かなり奇麗になります。

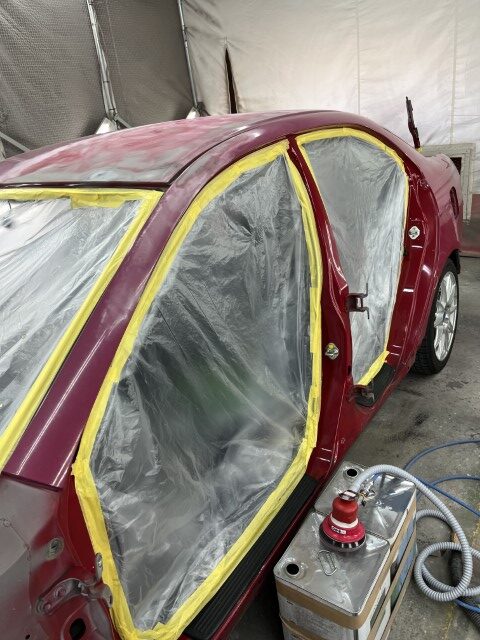
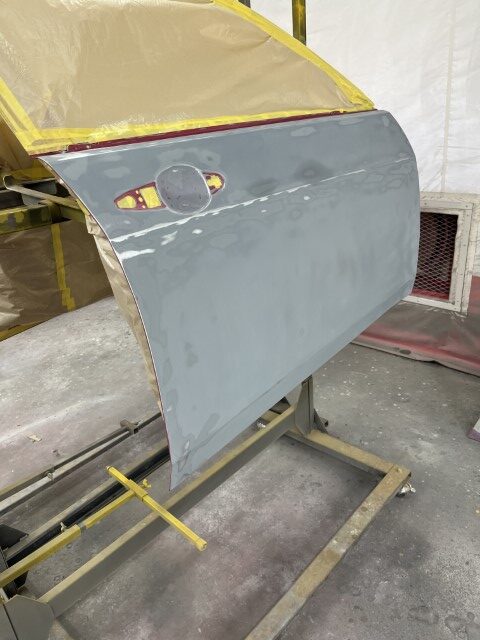
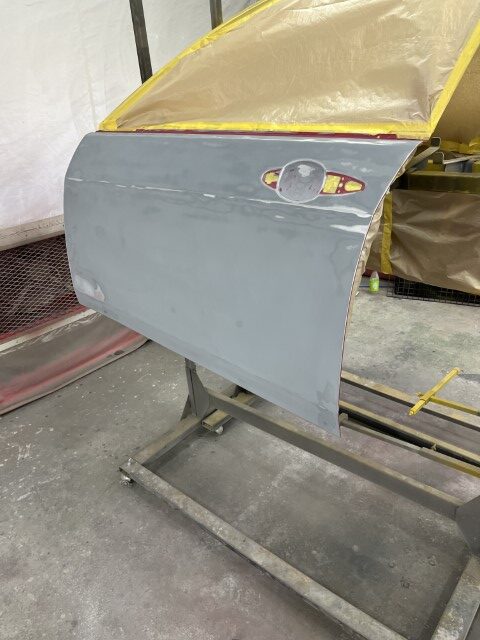
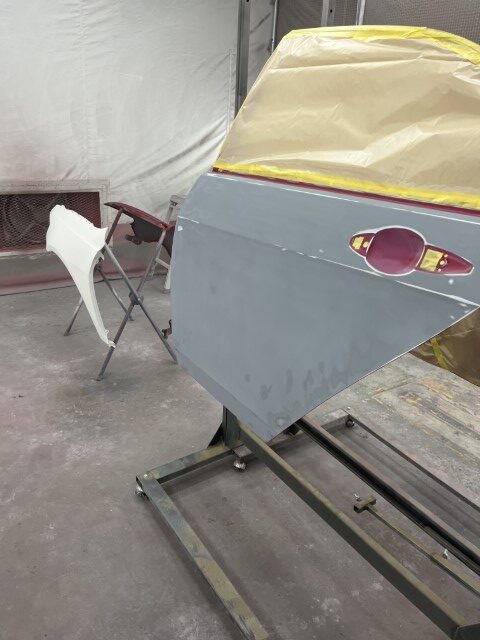
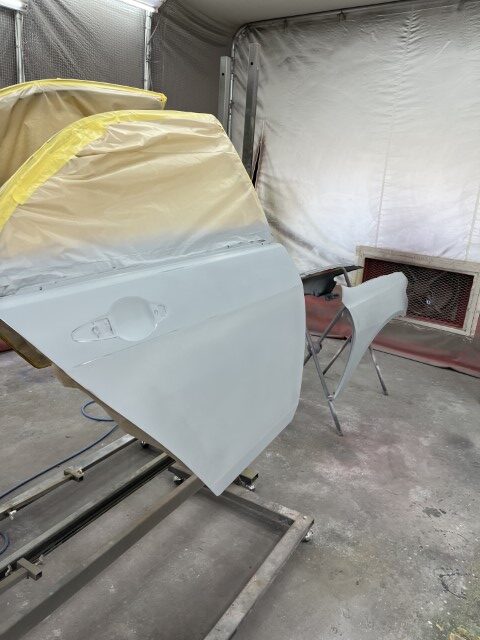
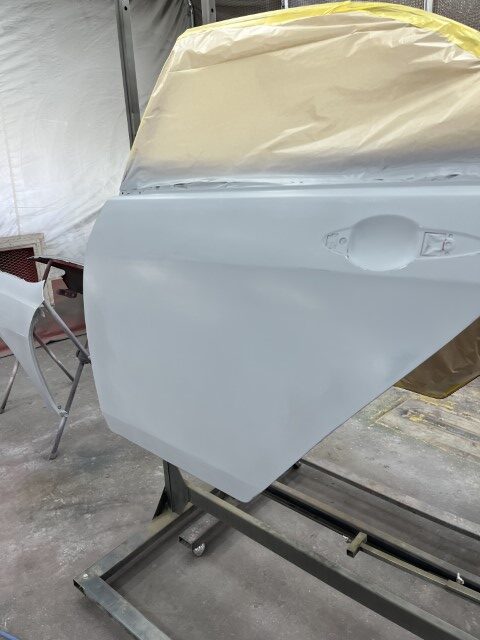
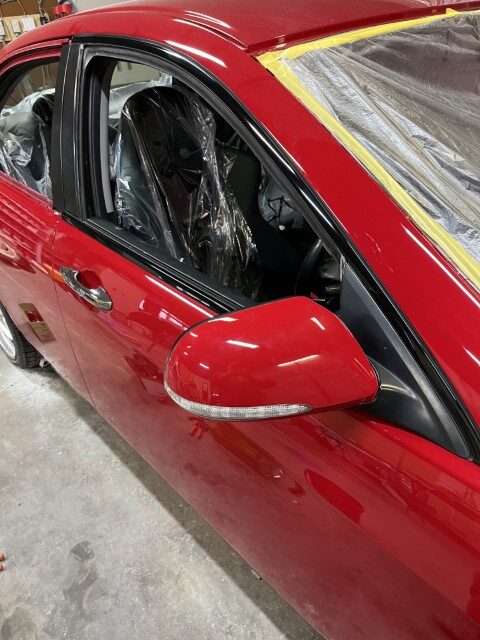
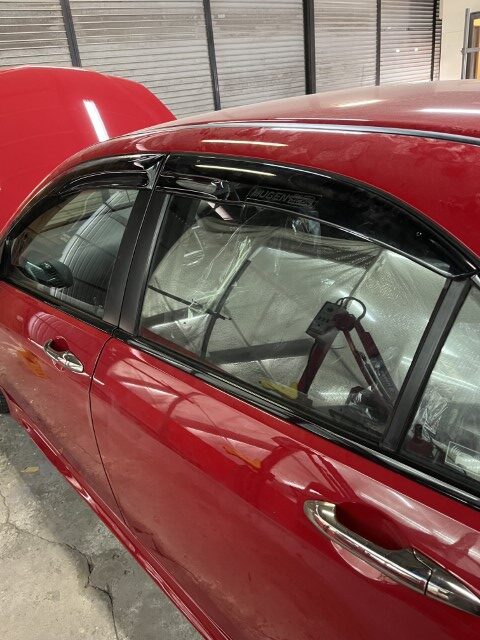
外装だけ塗装するときにもやはりドアがついていると邪魔になってしまうので一度外しています。
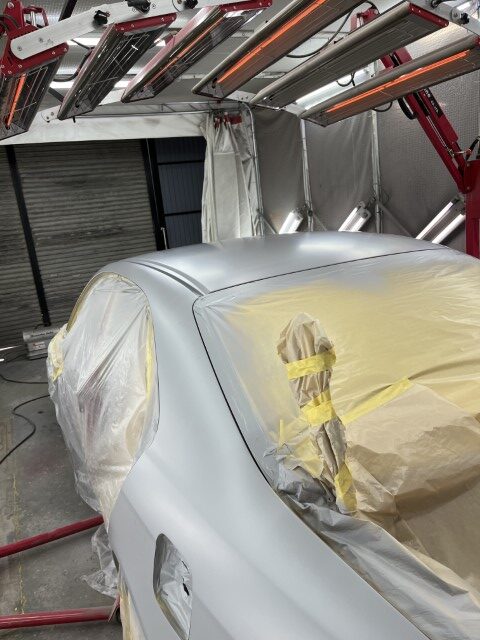
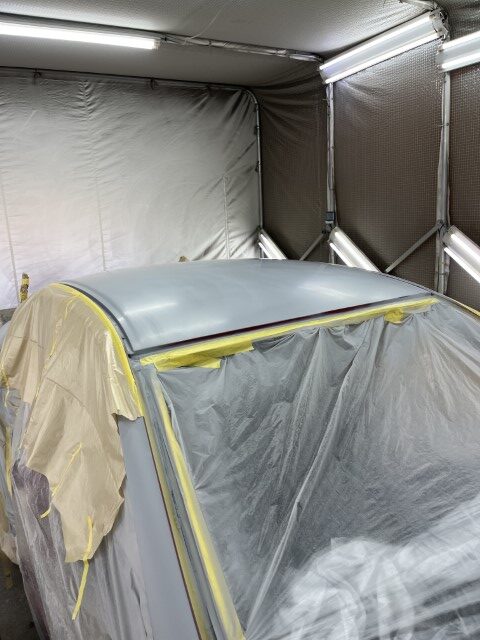
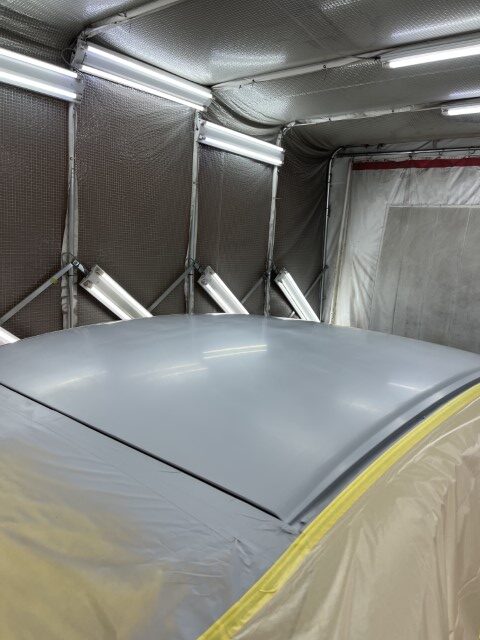
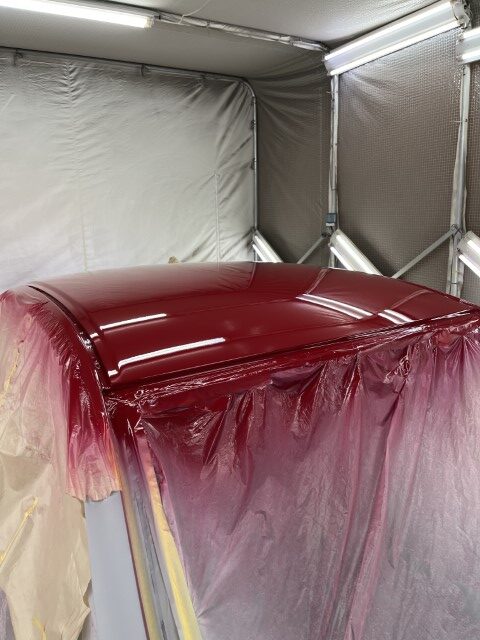
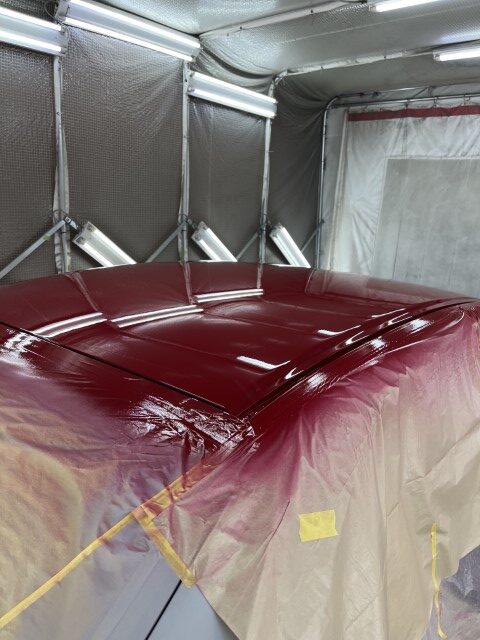
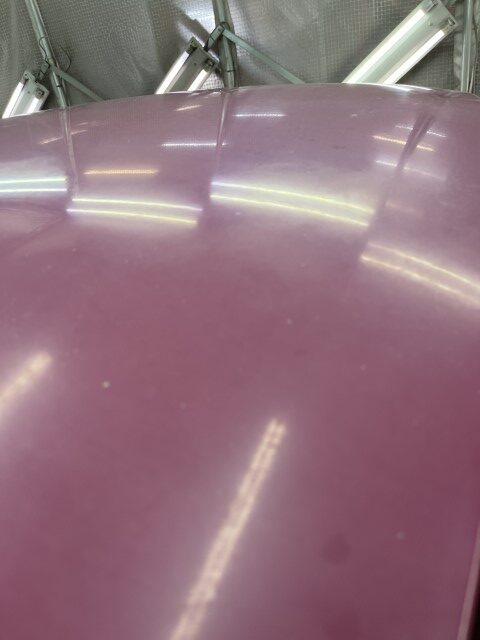
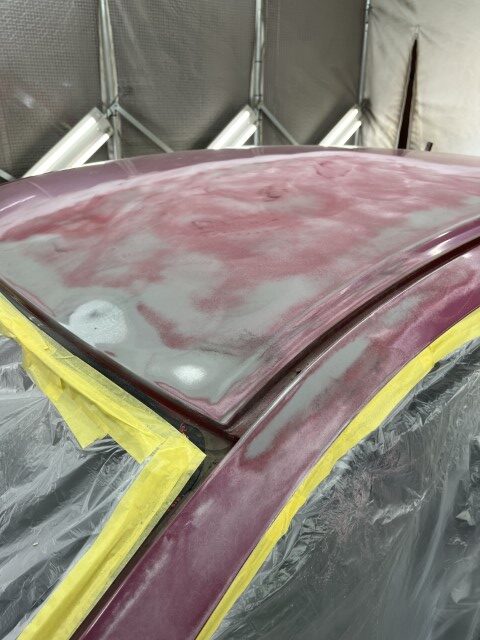
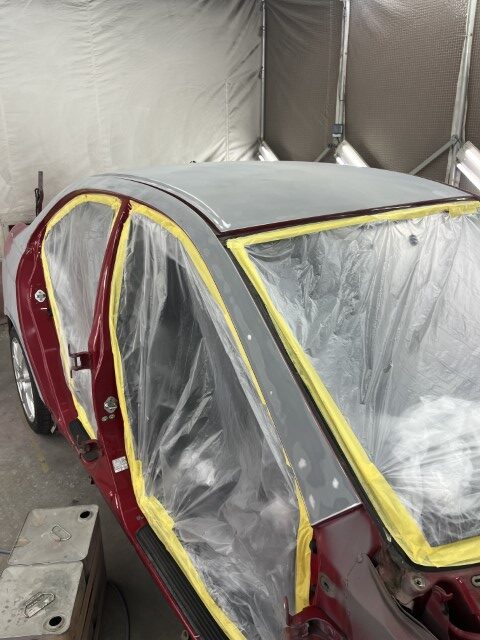
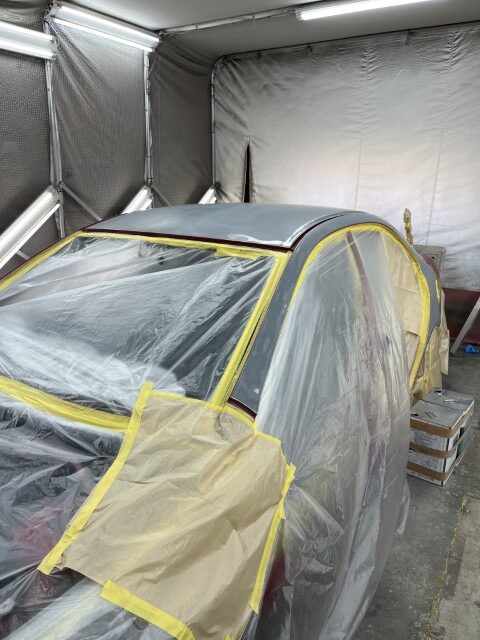
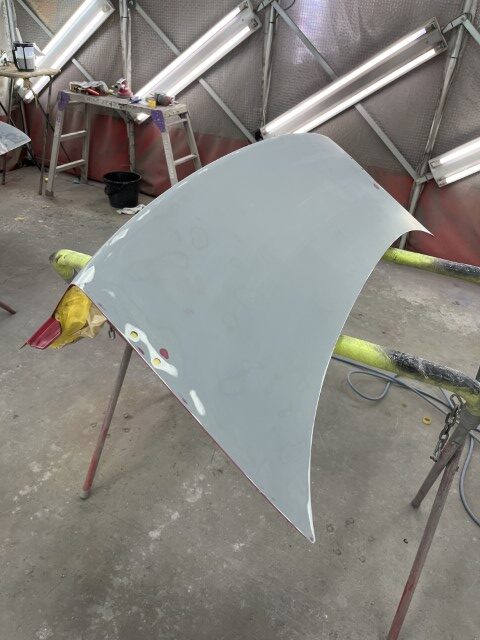
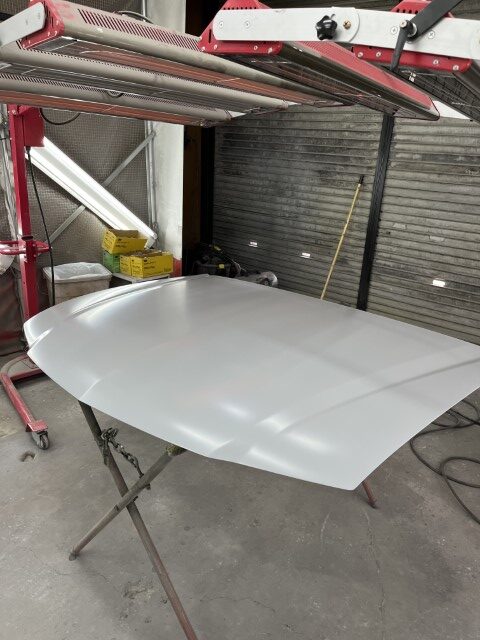
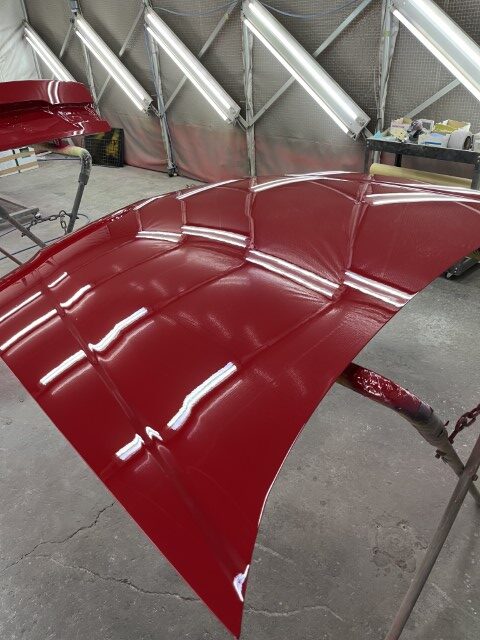
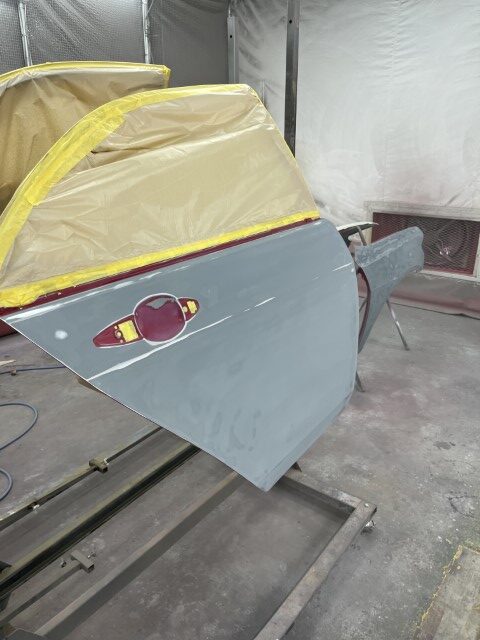
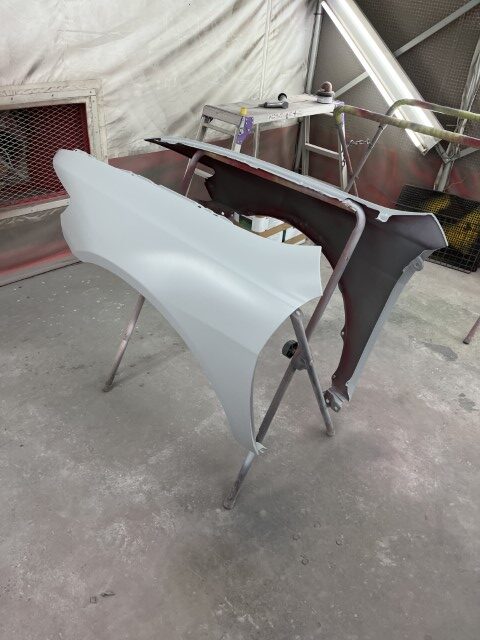
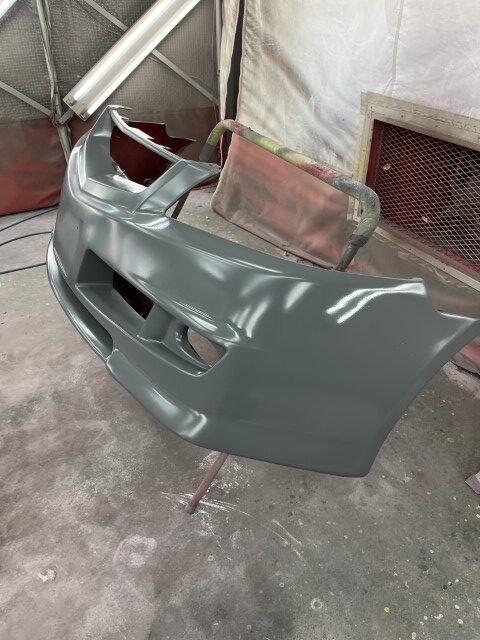
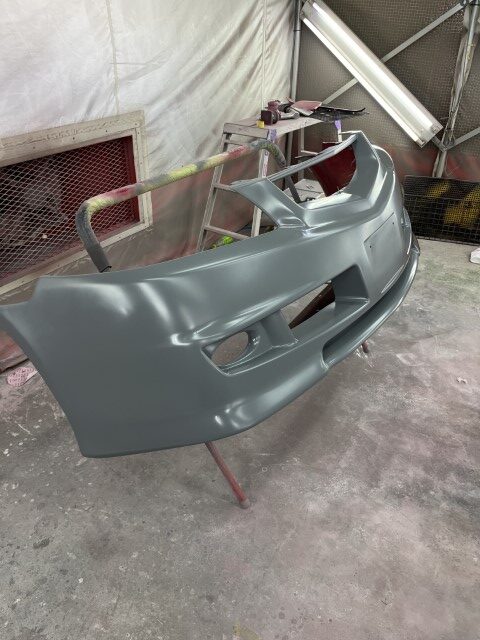
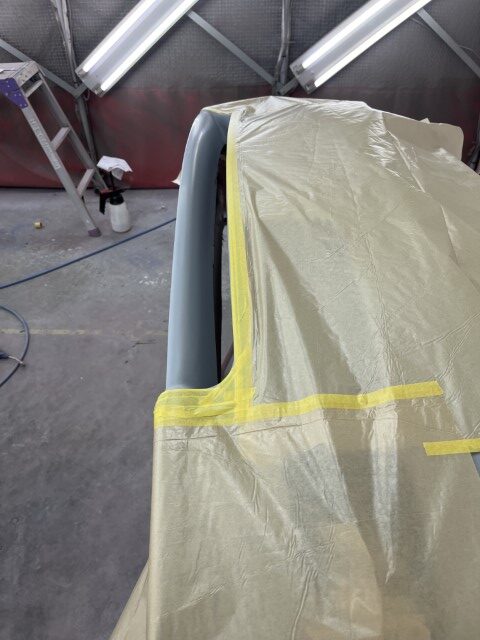
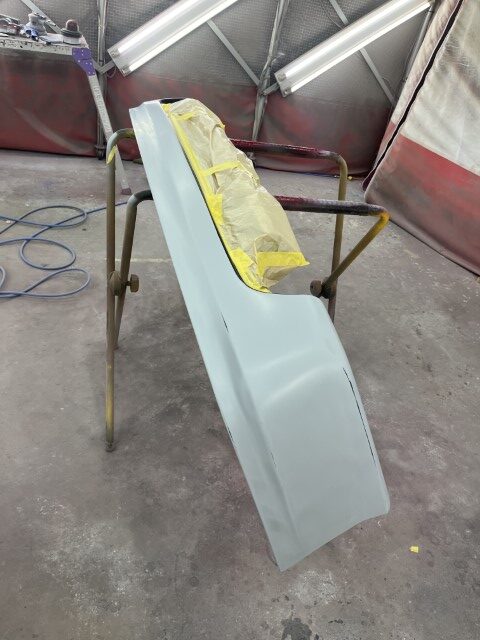
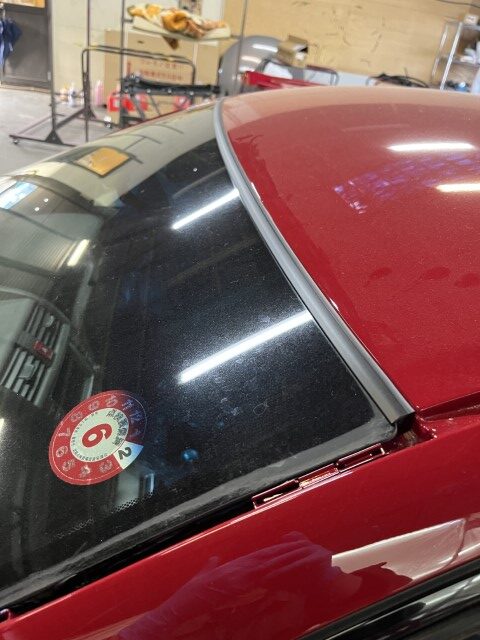
全体にサフを入れて、乾燥後にまずルーフから始めます。
ルーフモールがある車種はルーフは別塗です。
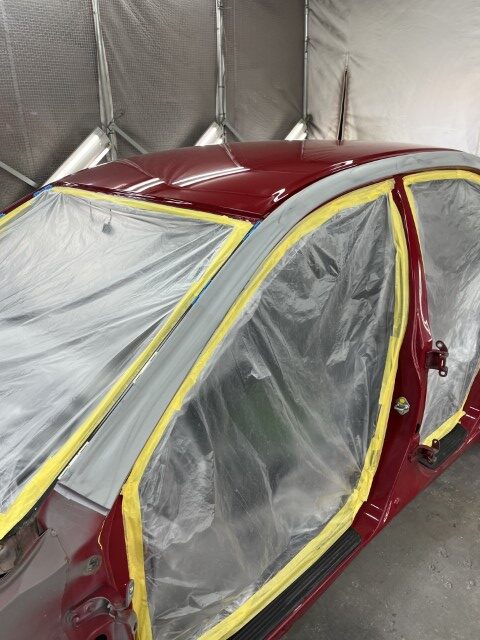
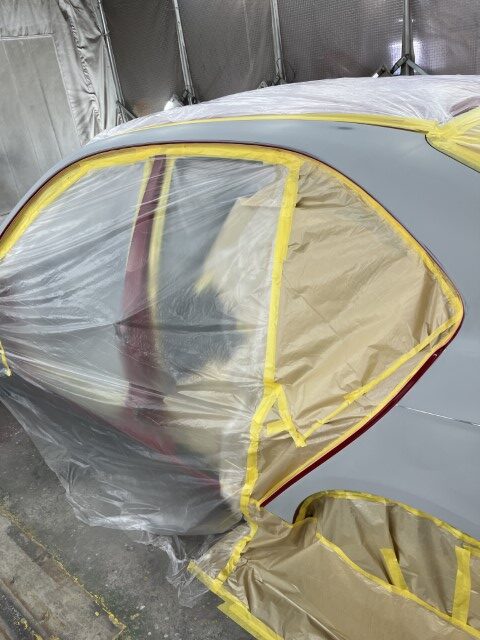
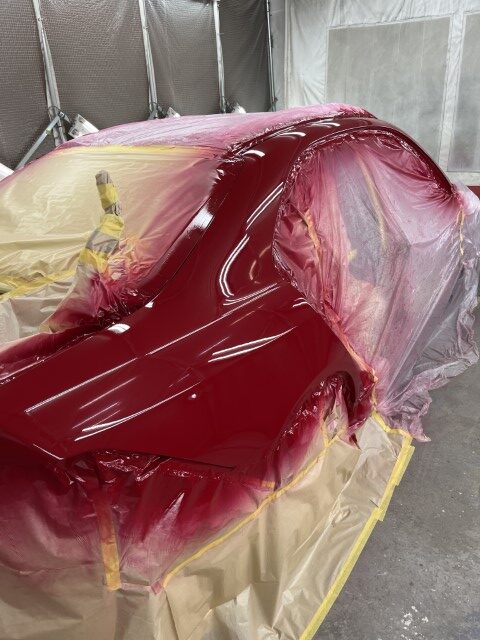
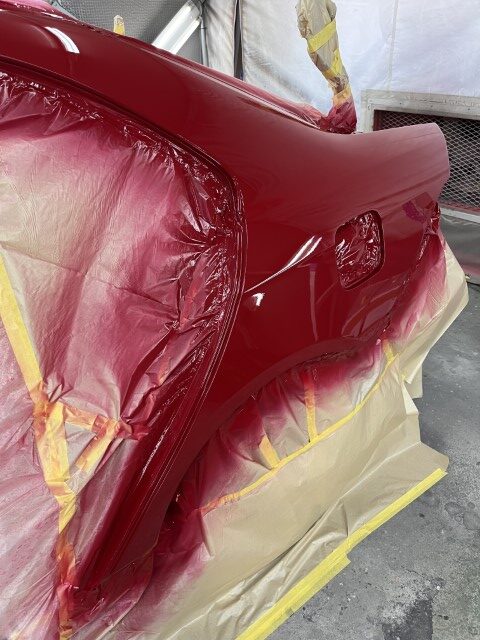
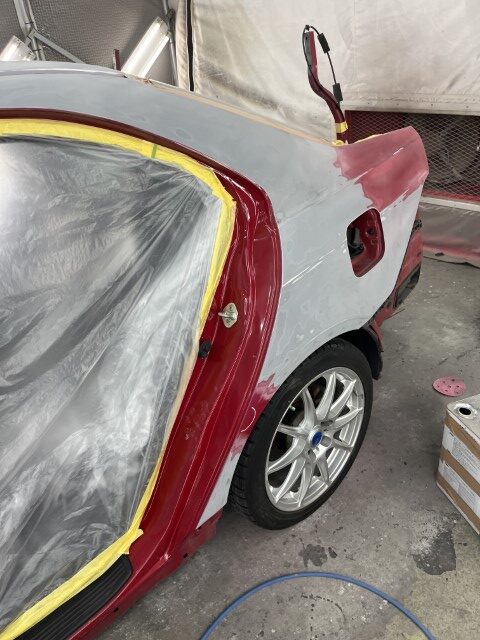
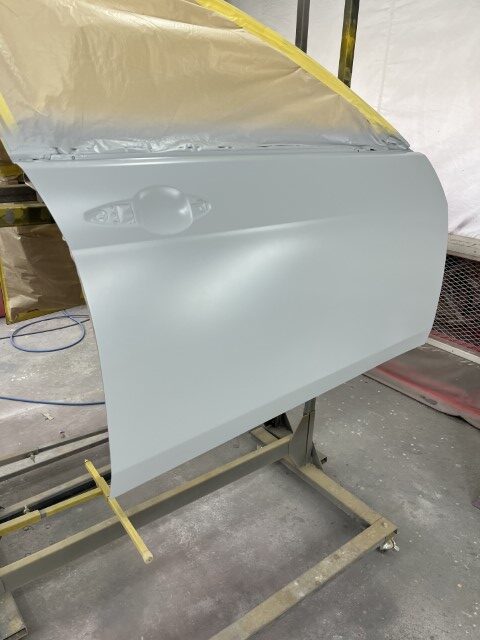
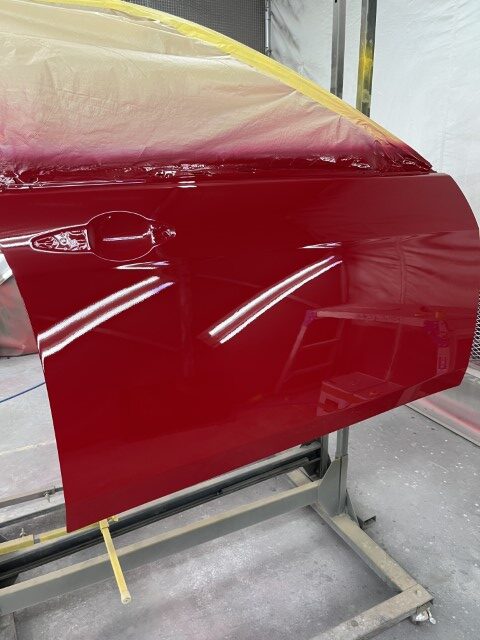
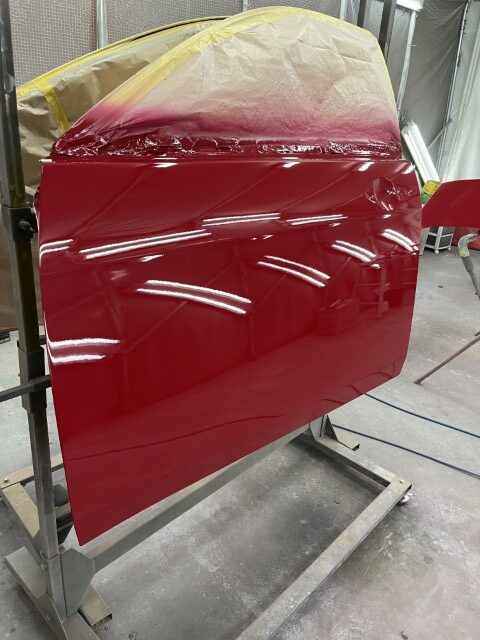
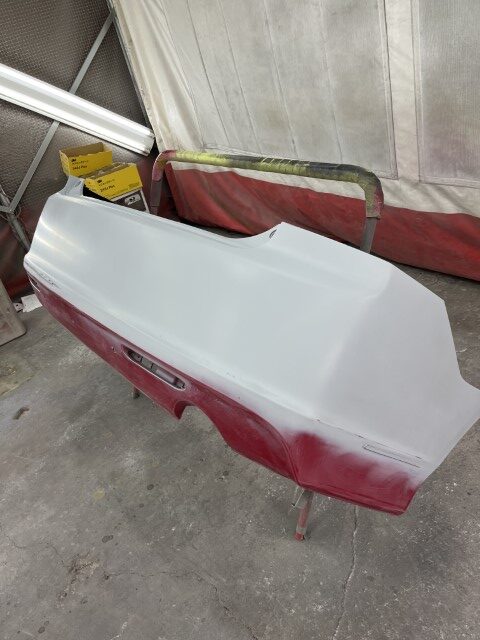
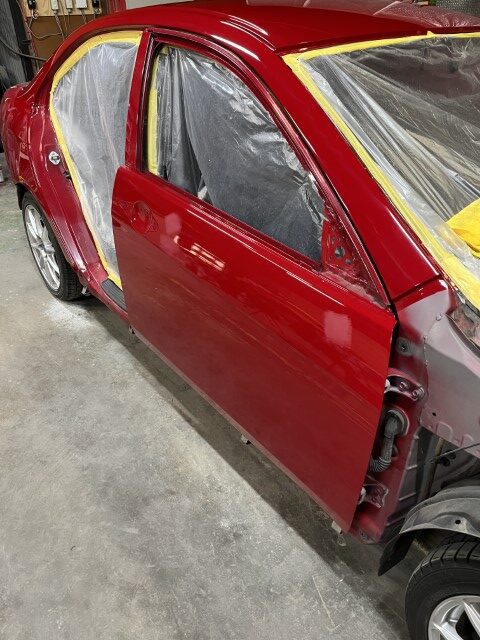
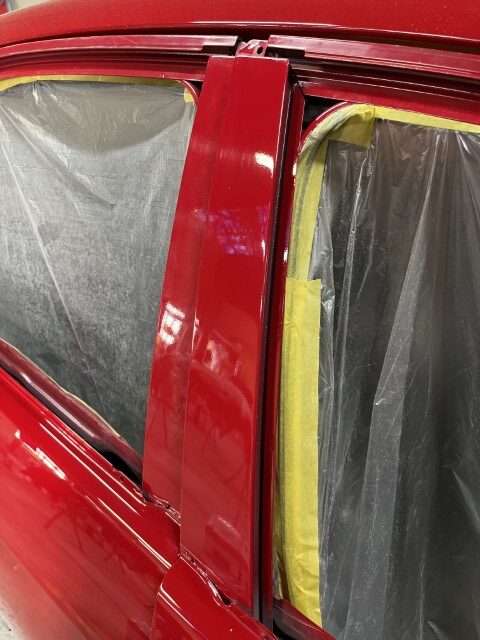
続いて両側面となります。
ドアがついていないので一段奥でぼかしテープを入れています。


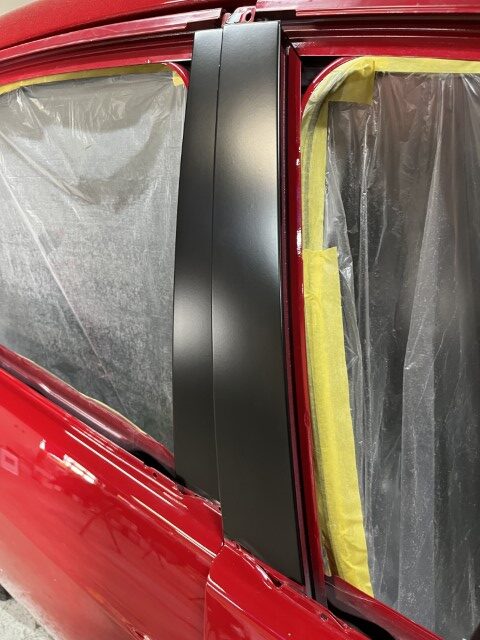
続いてパネル類を進めていきます。
順番はちょっと忘れてしまいました。

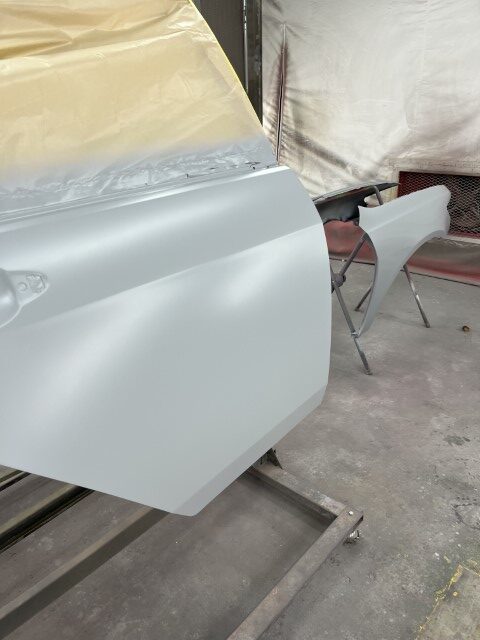
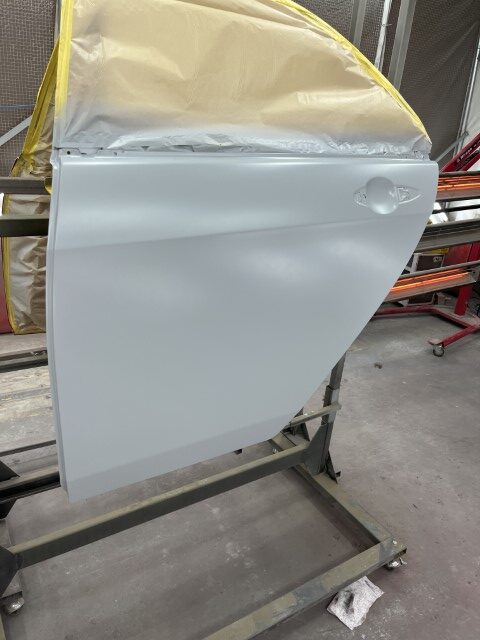
画像の順番がくるってしまっていますが、どんどん進めていきます。
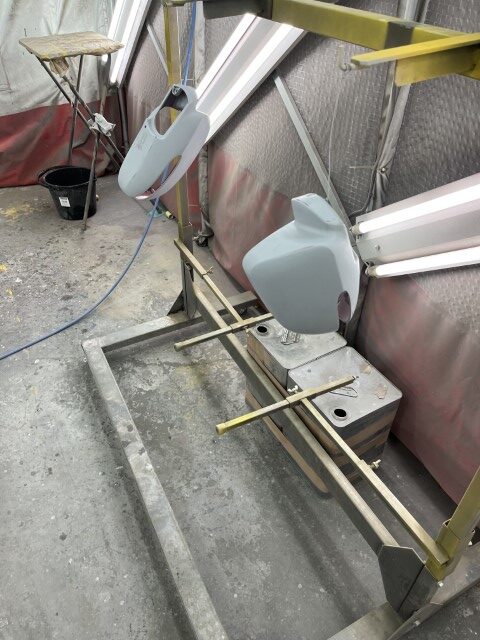
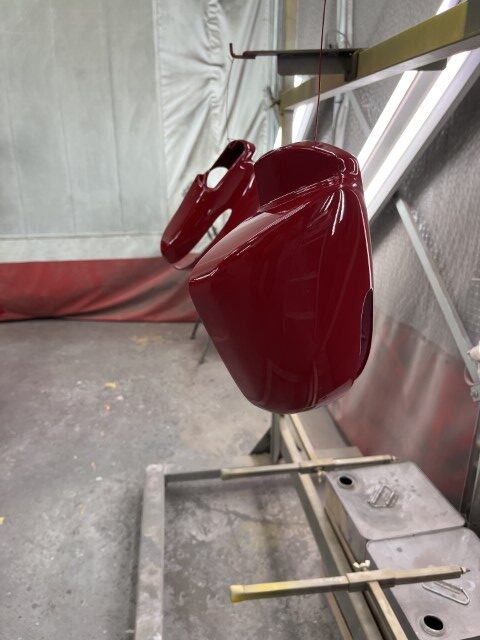

小物もどんどん進めていきます。
乾燥させた順からパネルは取り付けてしまいます。
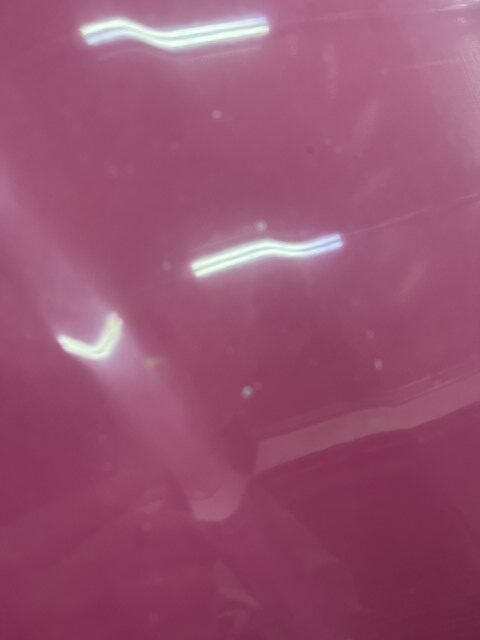
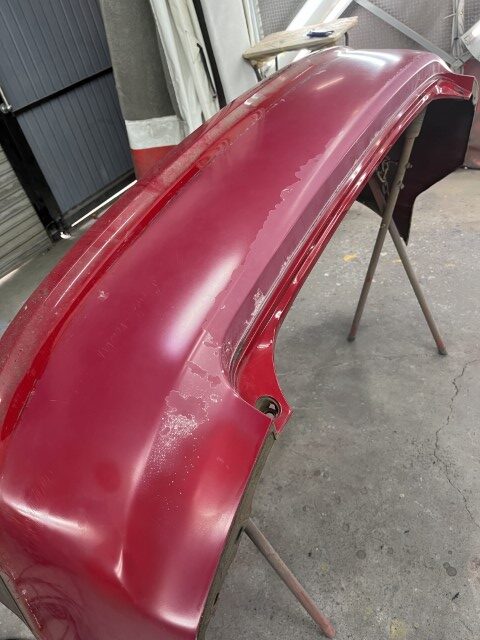
ゴミ取りも同時に進めます。
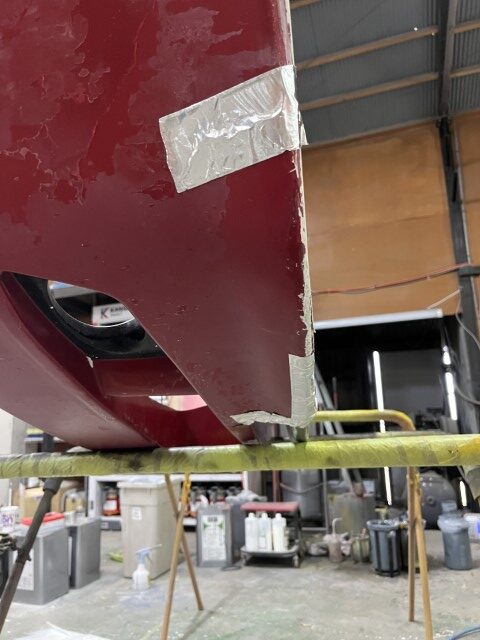
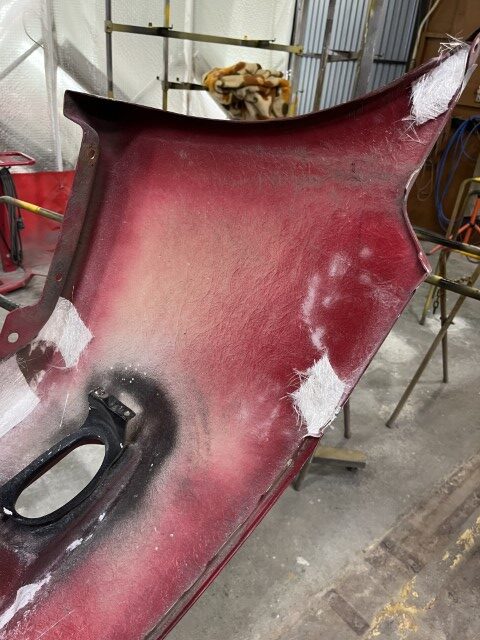

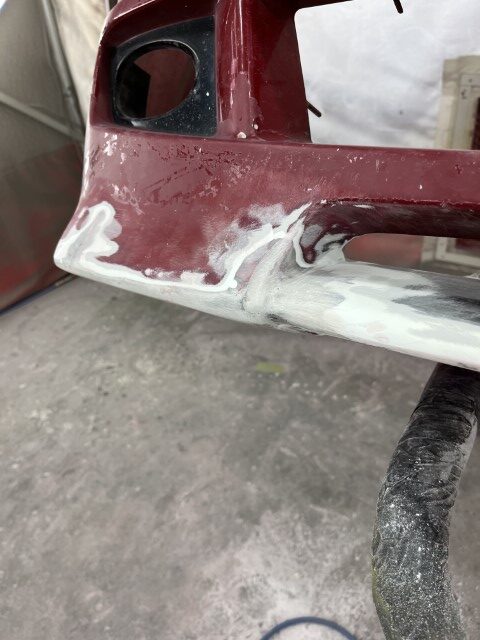
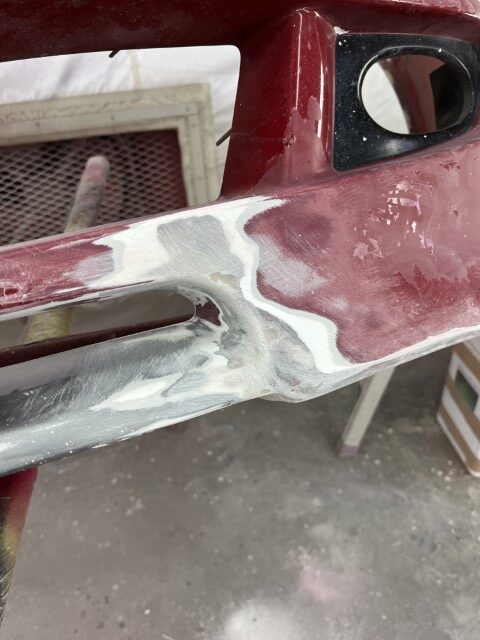
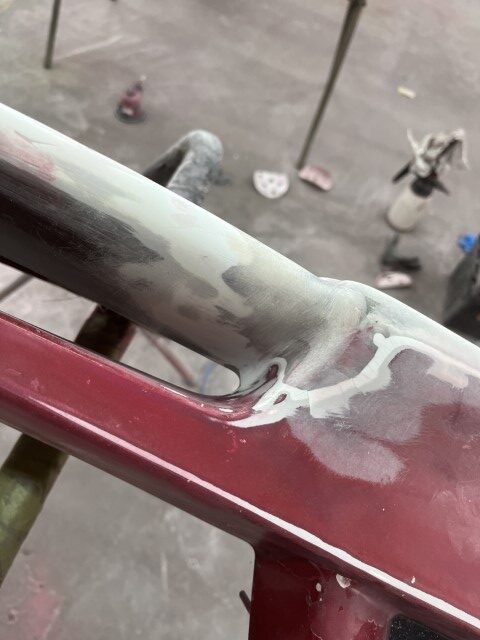
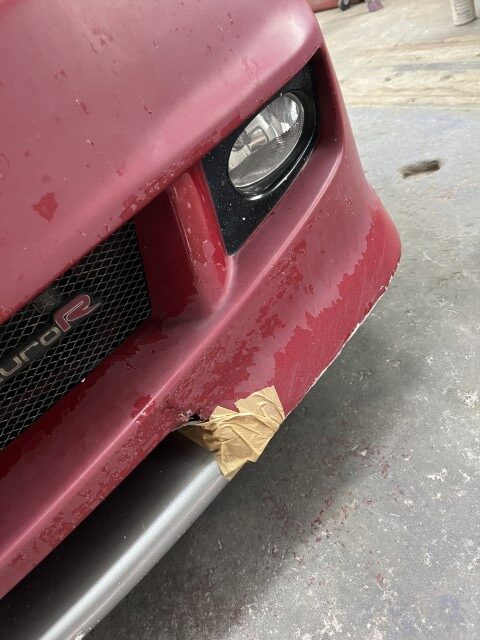
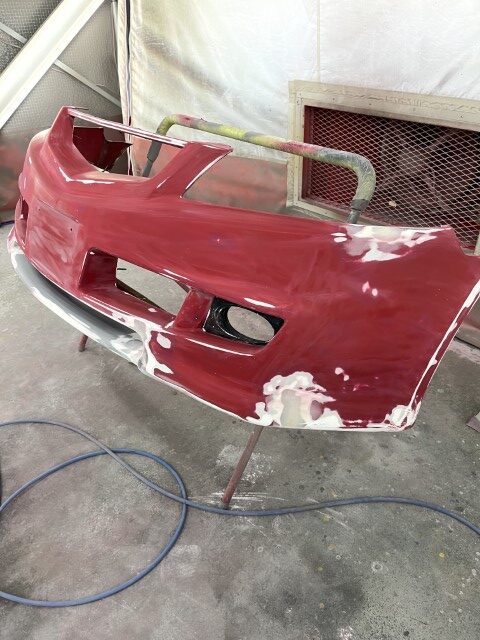
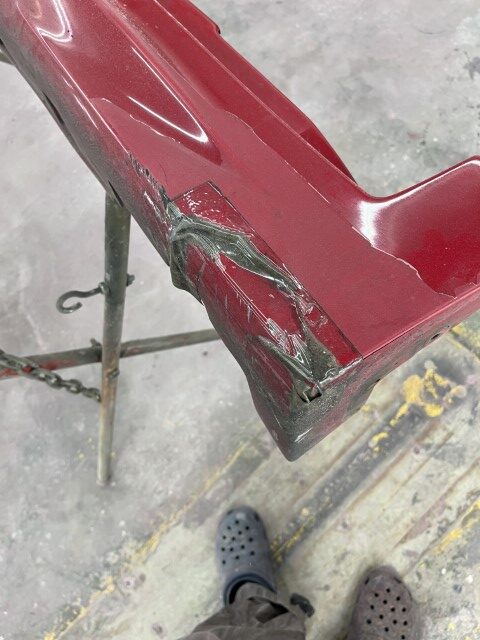
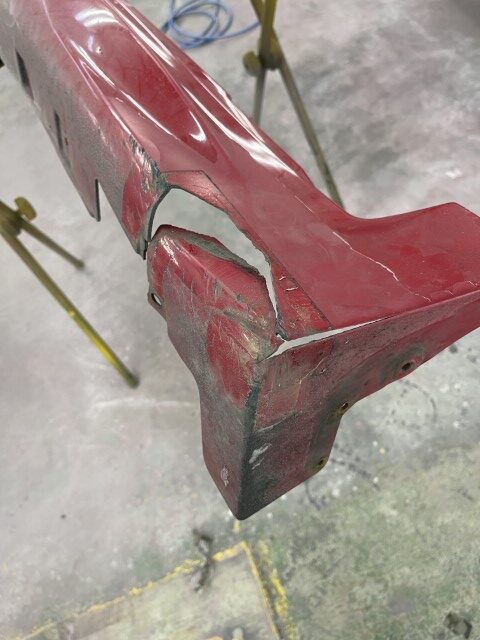
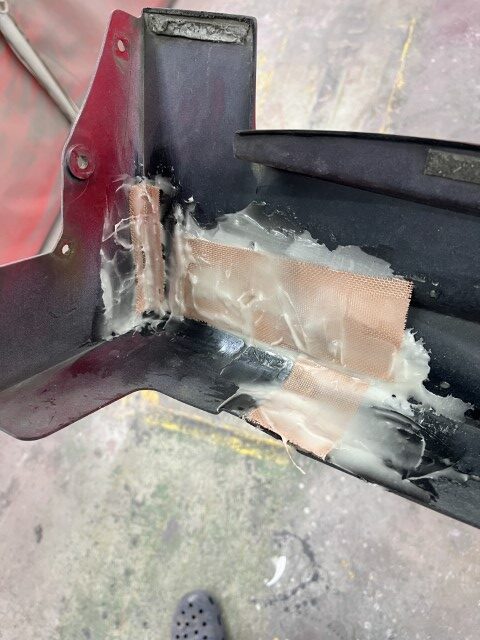
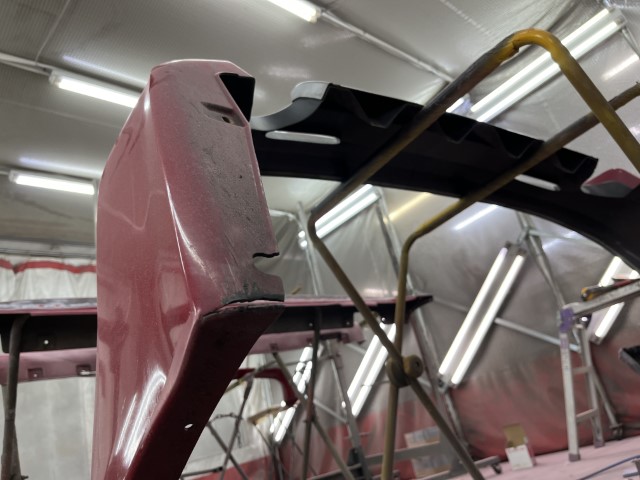
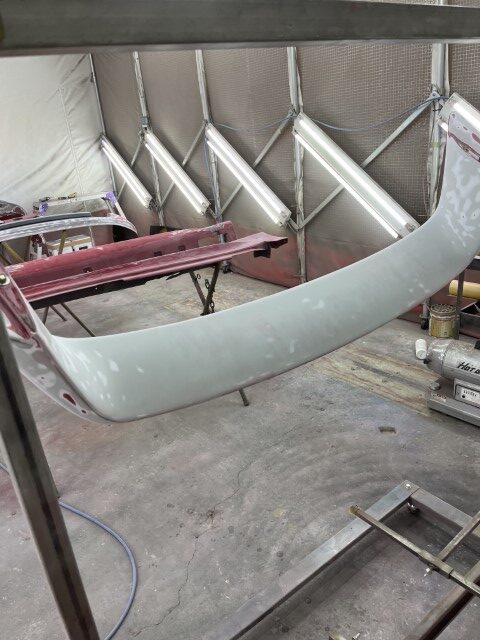
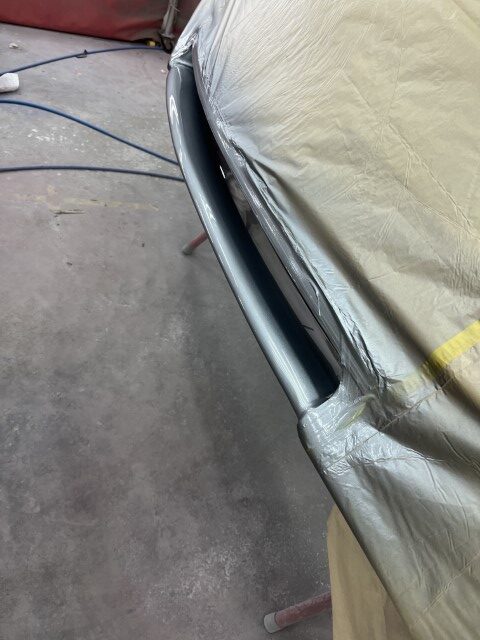
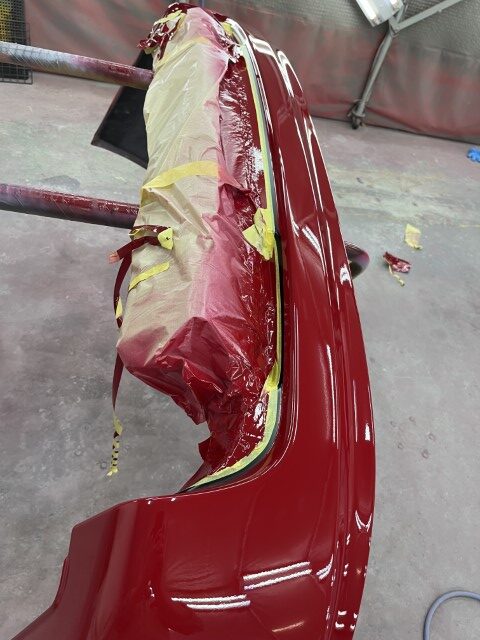
各所壊れていたバンパーも治していきます。
この時はまだFRPの裏張りをしていますが諸事情により今はFRPを使っての修理は行っていません。
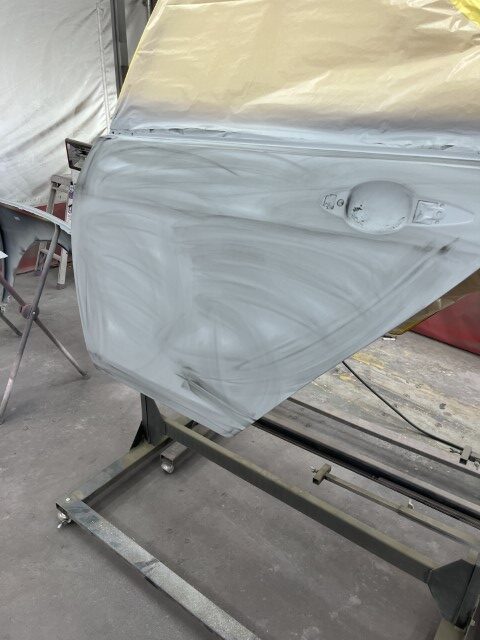
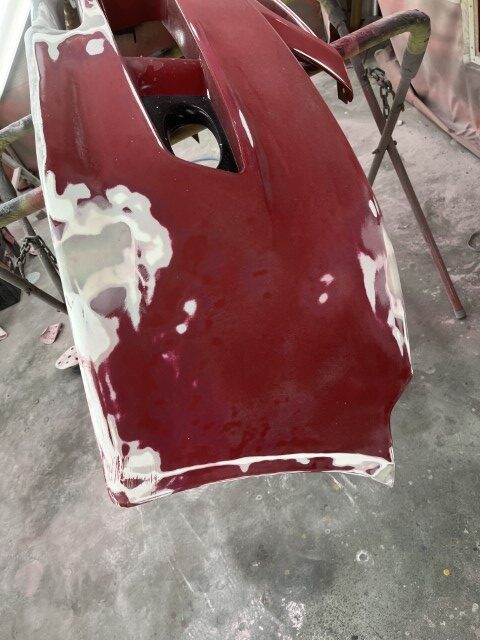
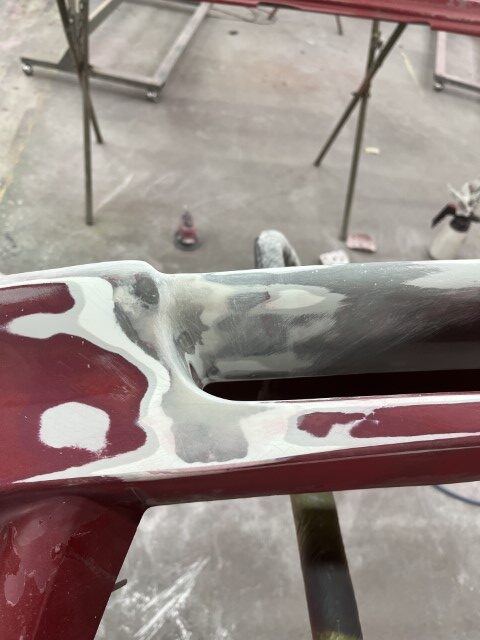
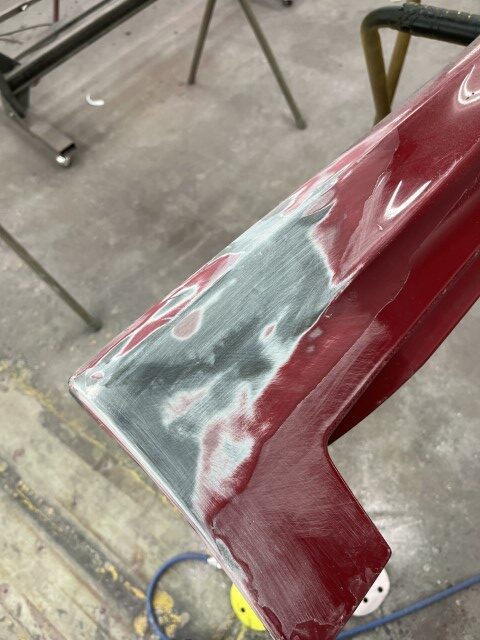
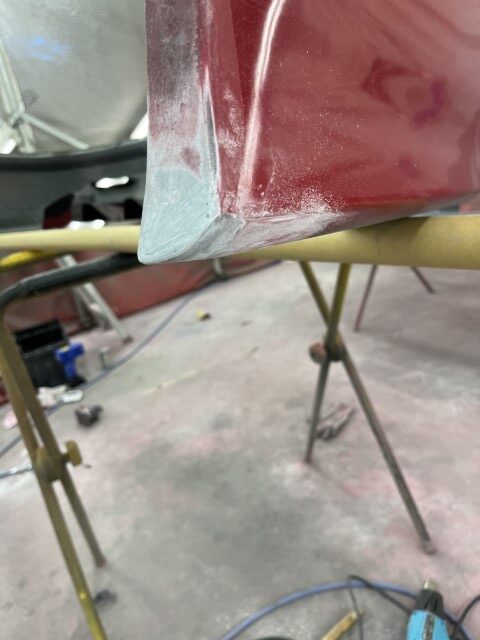
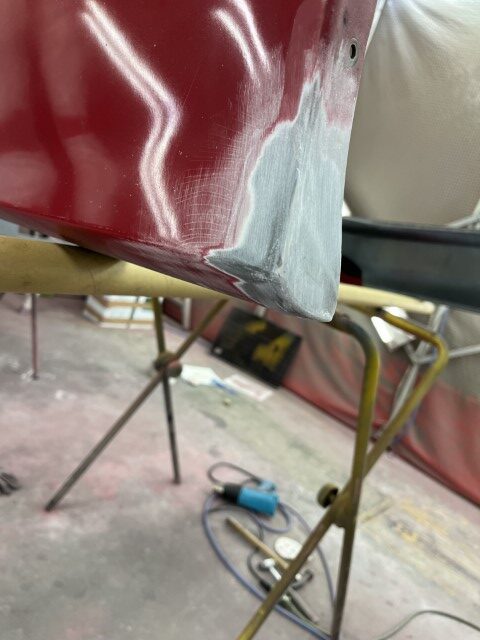
基本的にすべてUVパテでの補修となります。
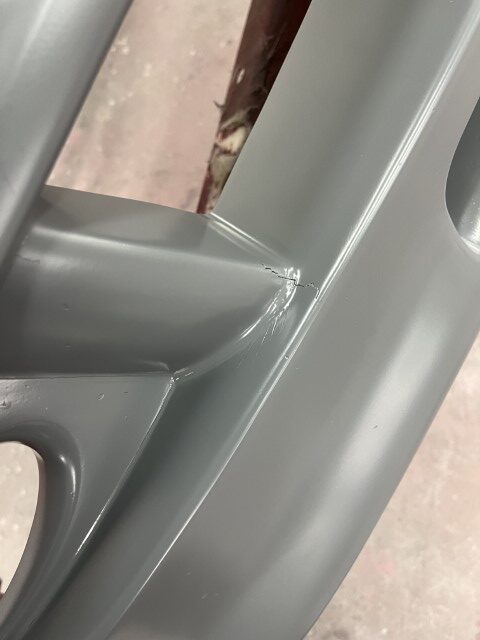
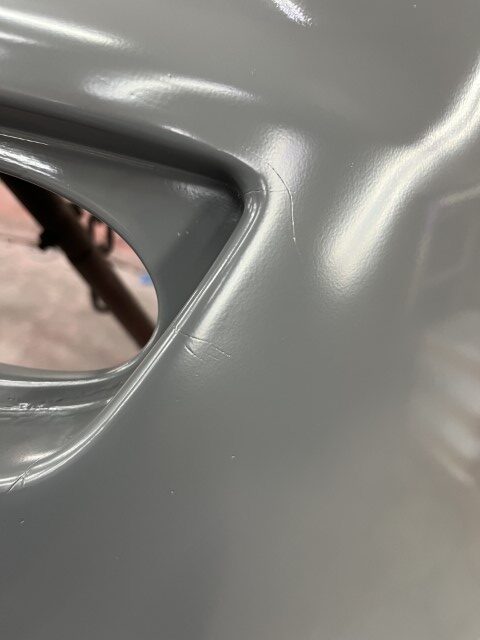
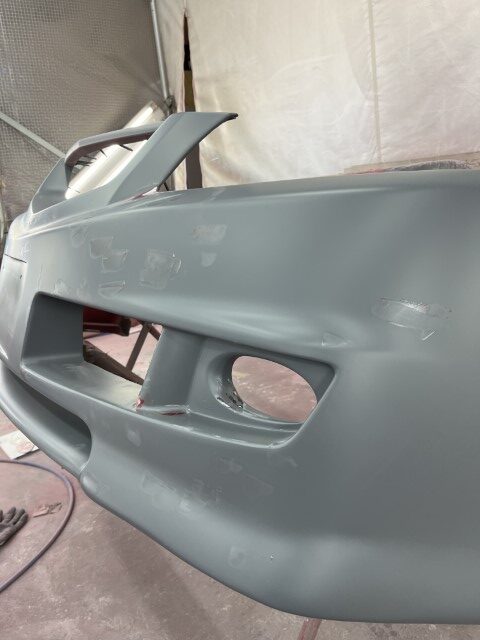
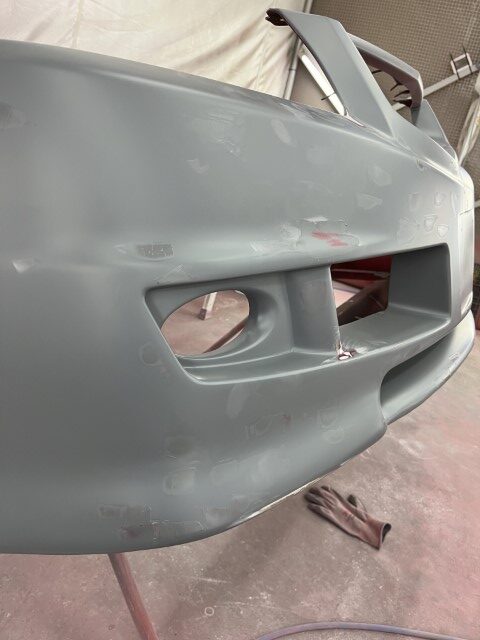
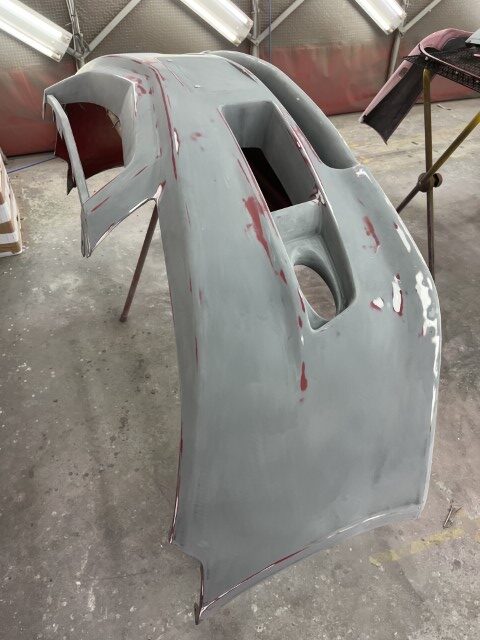
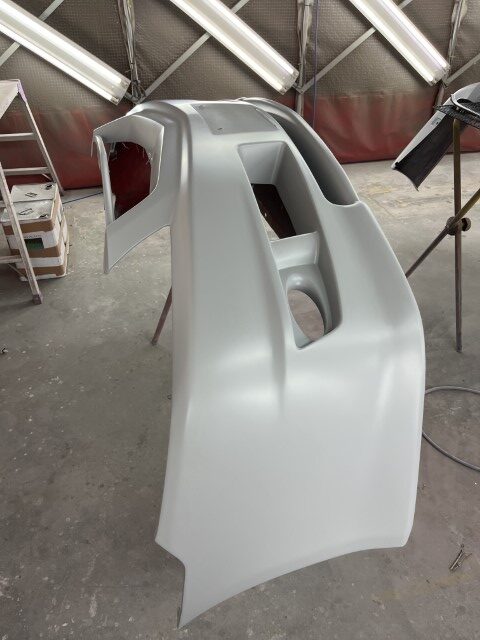
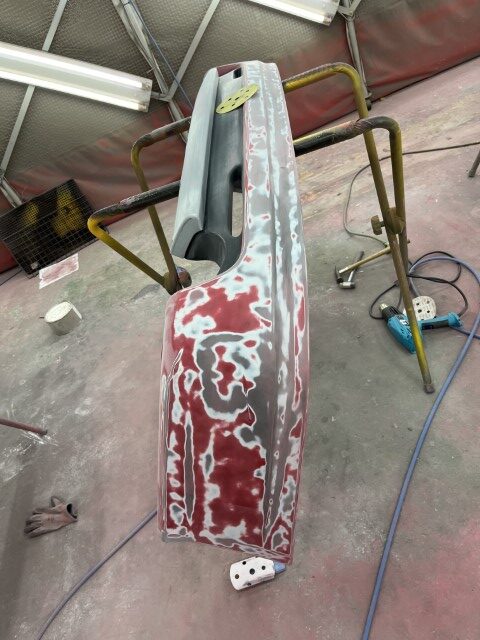
1回サフを入れて様子を見て、ダメなところをもう1回治してまたサフです。
FRPの修理は膨大に時間がかかりますので基本的に治すより買ってしまったほうが安くなるケースが多いです。
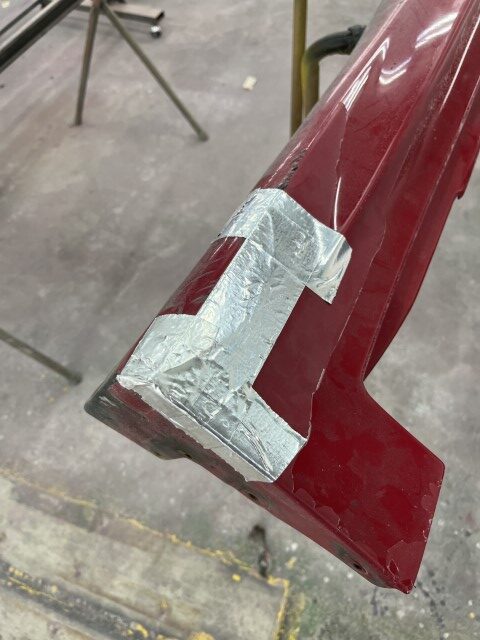
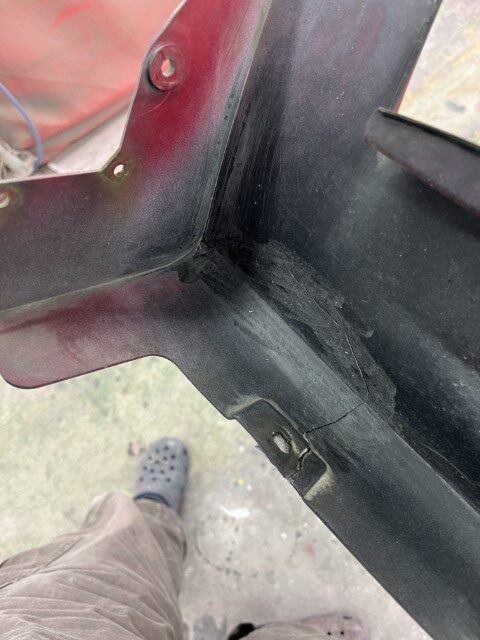
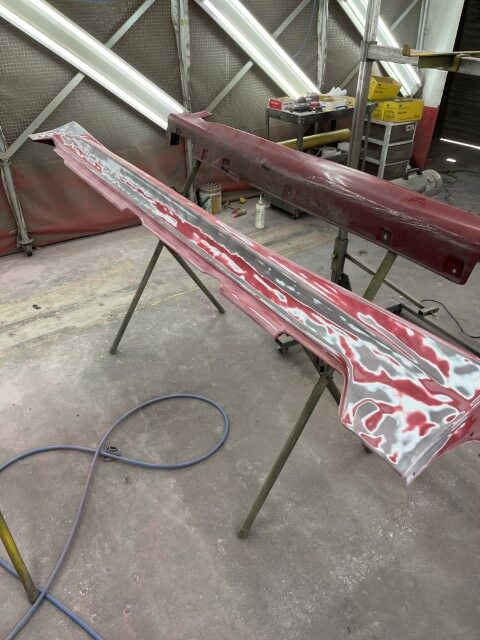
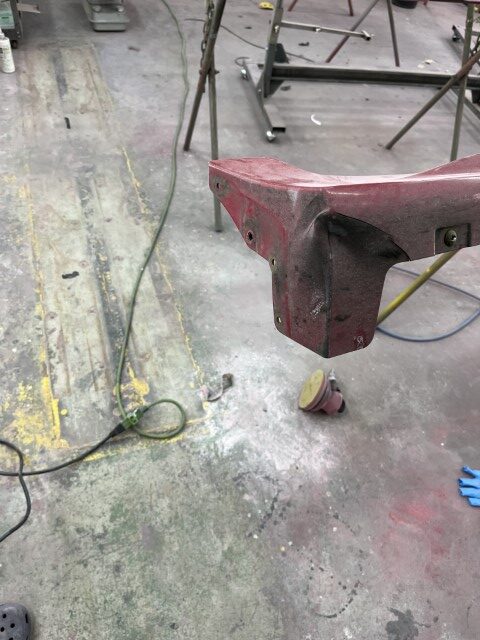
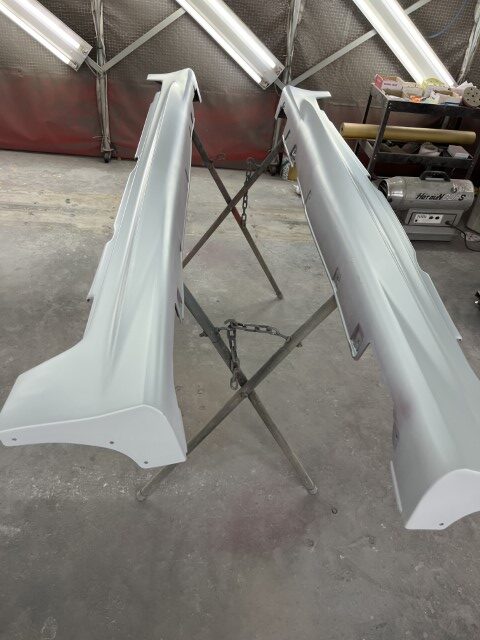
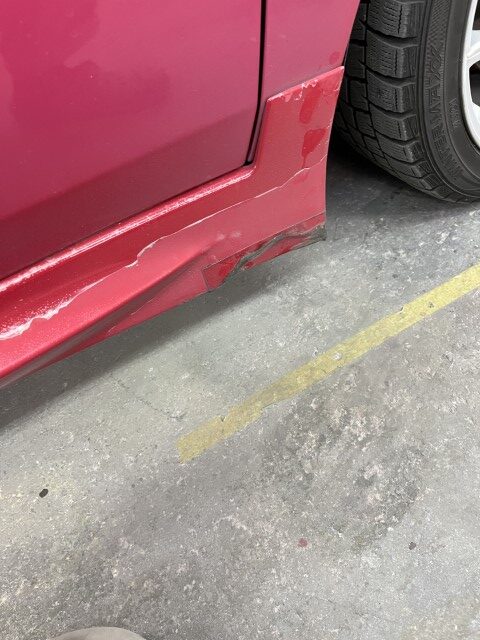
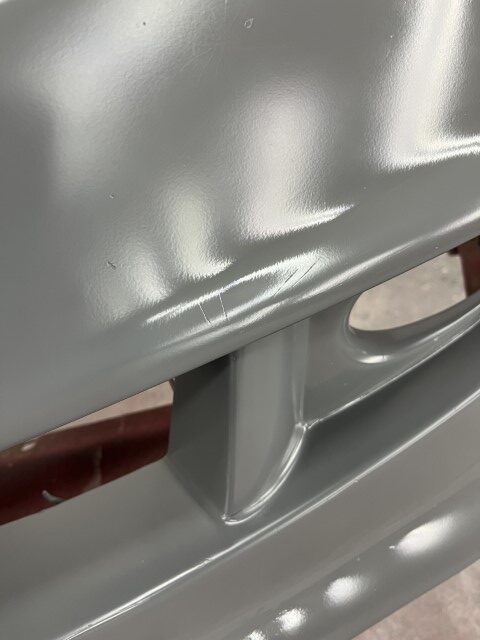
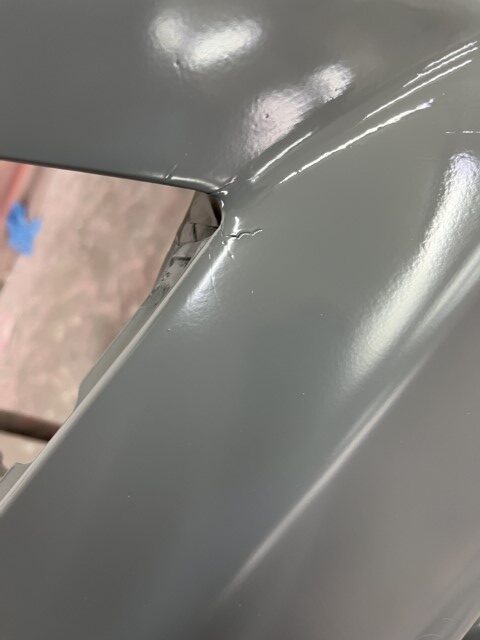
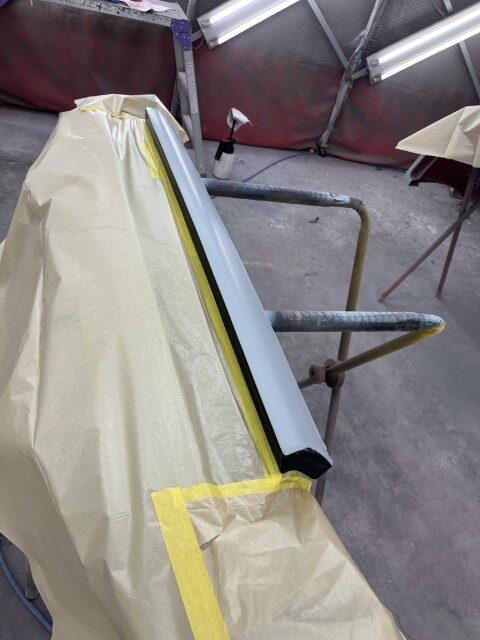
サイドステップ、リヤアンダー等割れている部分を直していきます。
こちらはFRPではなくABSでした。
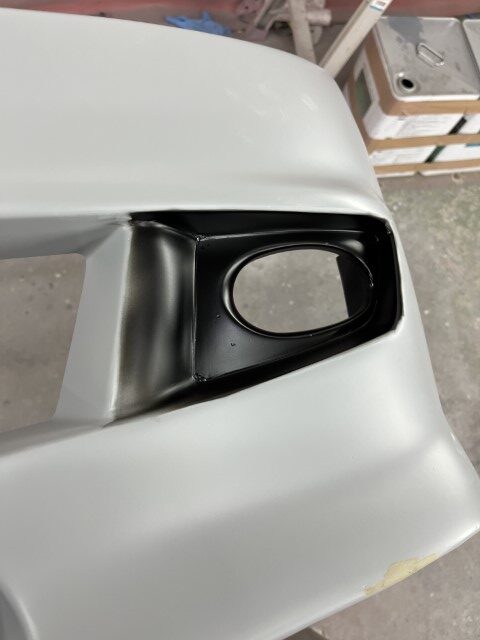

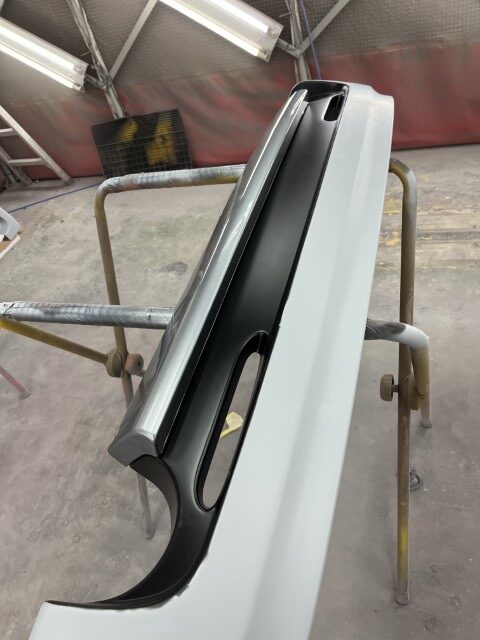

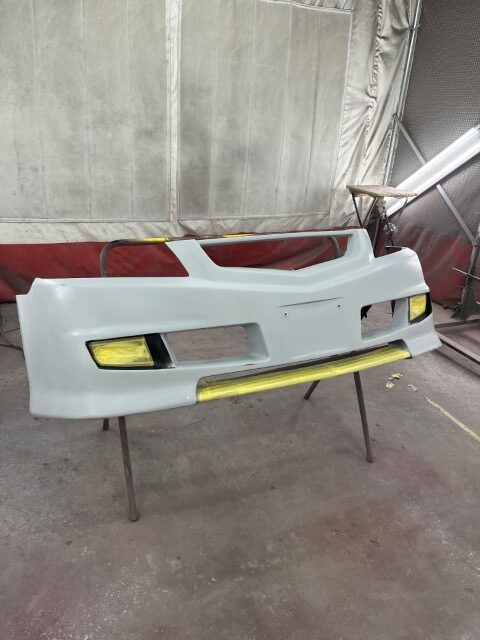
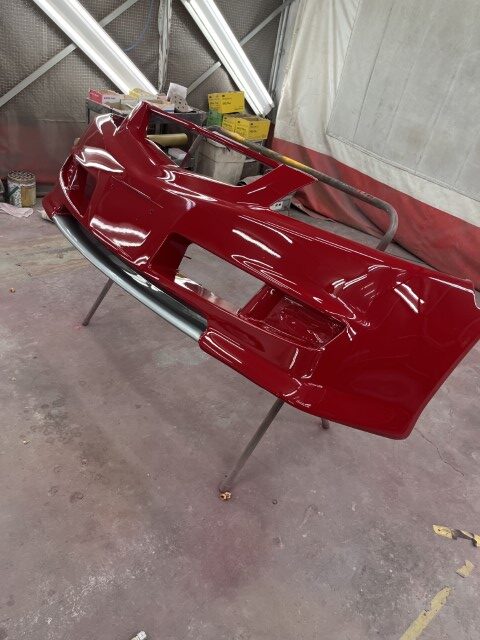
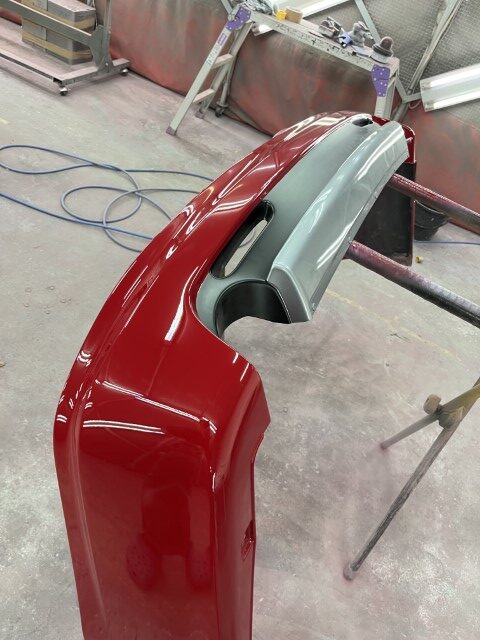
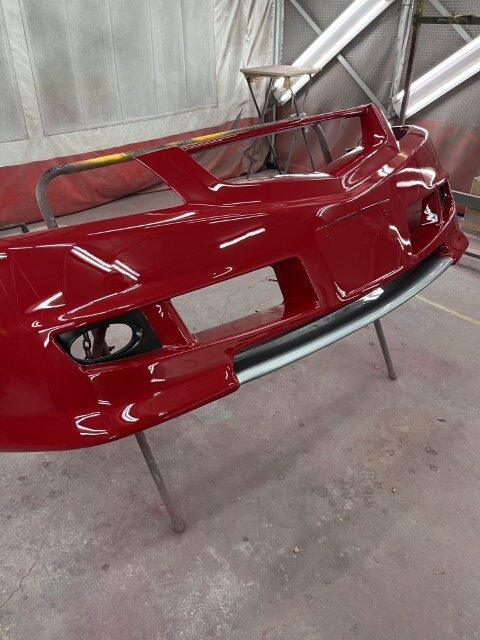
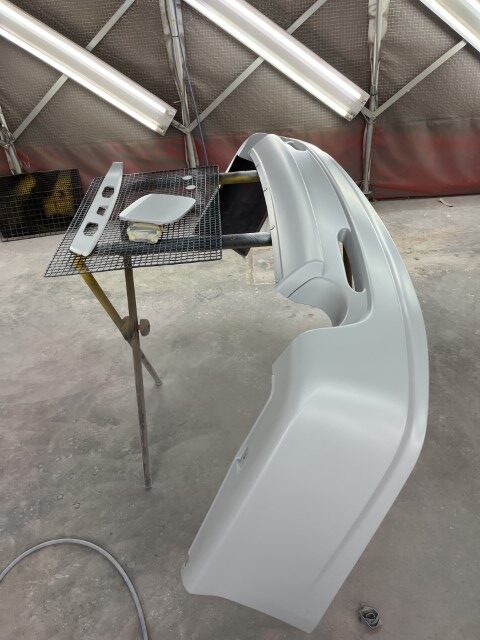
バンパーは3色の塗分けでした。
地味にしんどいです。どの順番で塗ろうか頭を悩ませます。
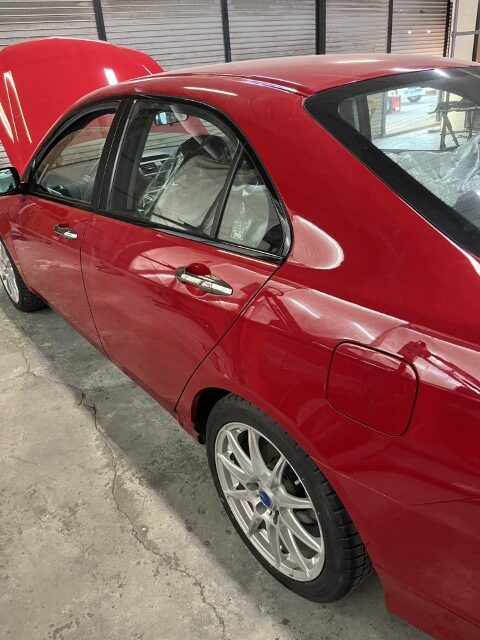
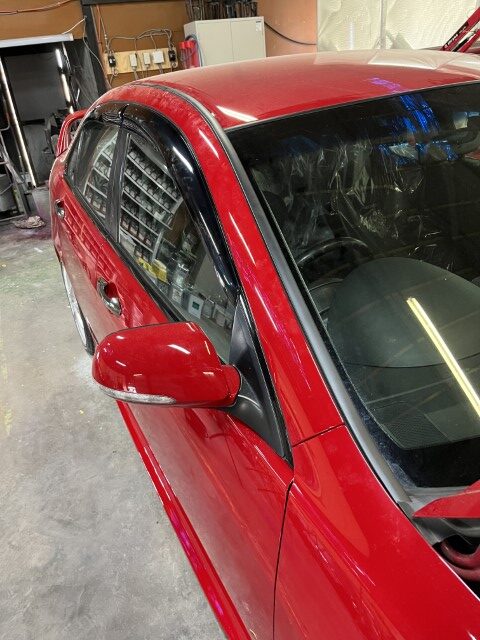
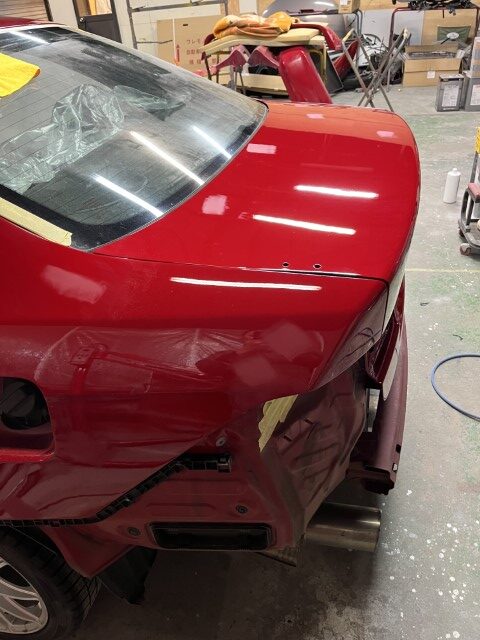
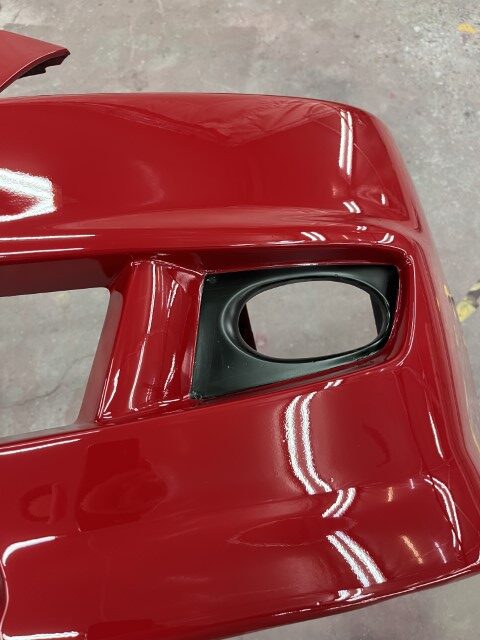
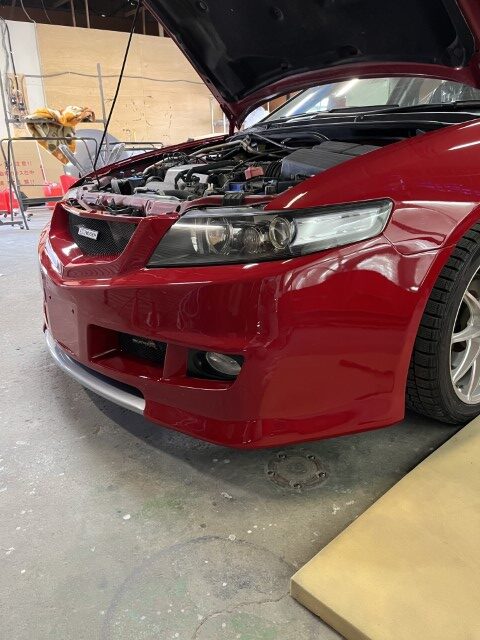
磨きが完全の終わった個所から組付けていきます。
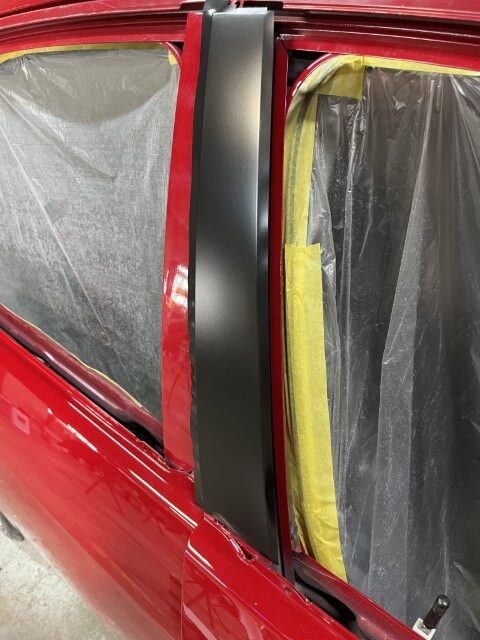
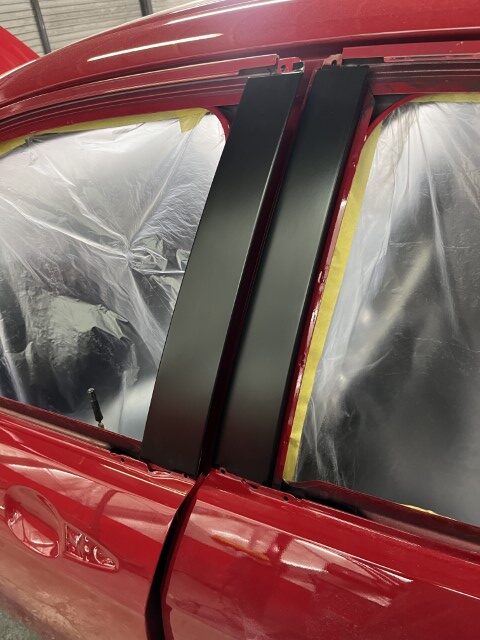
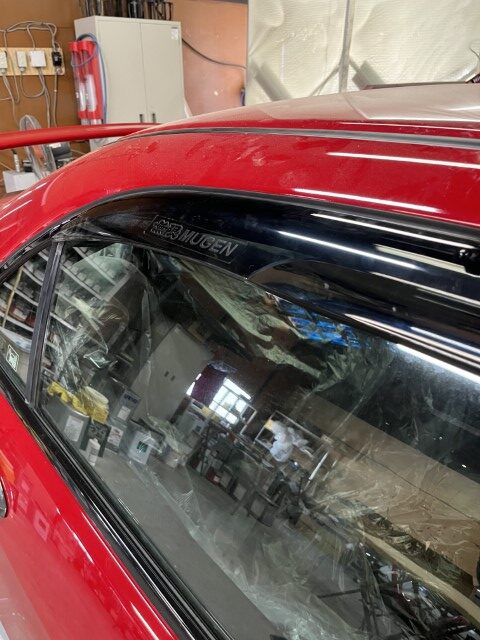
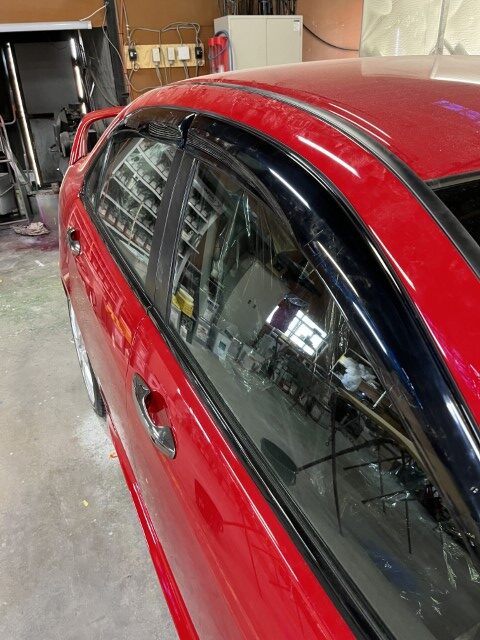
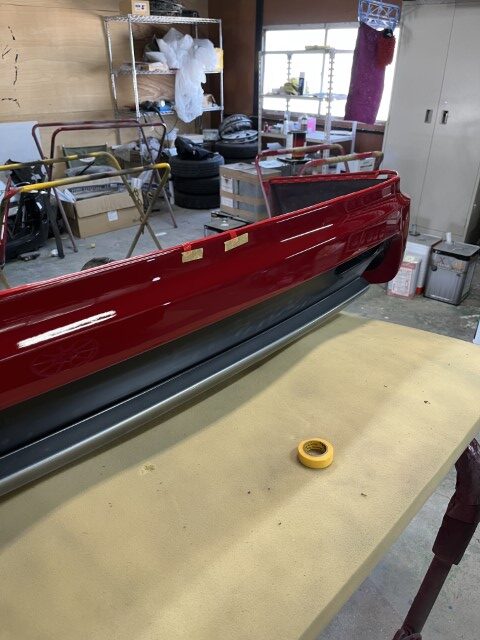
モール類は新品交換です。黒い部分がシャキッとするとよりきれいに見えます。
バイザーのクリップも確か無限から取り寄せたと思います。
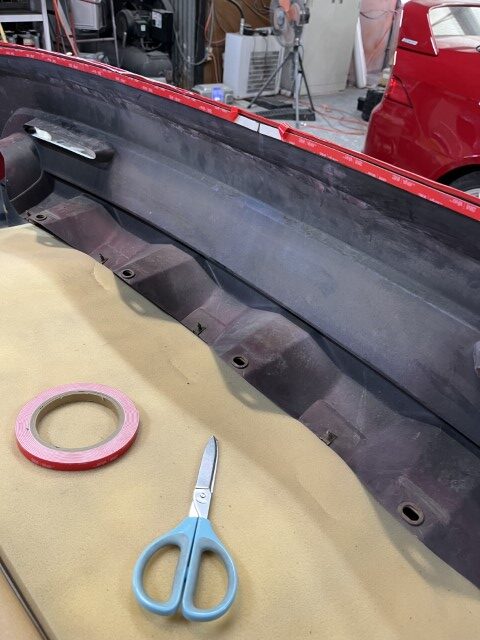
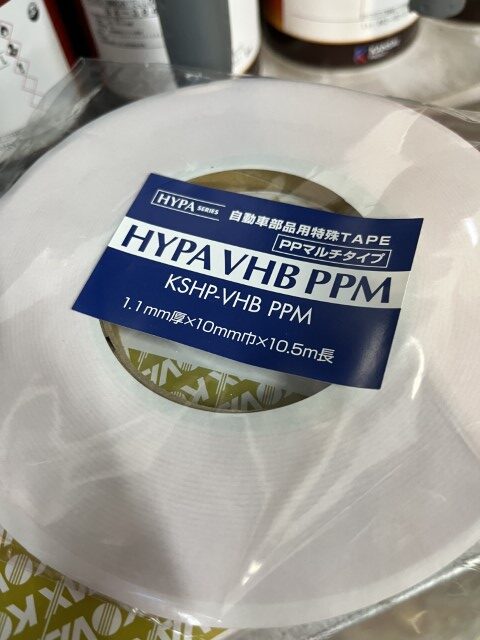

エアロに使う両面テープは強力なものを使用します。
画像の1巻きで5000円ぐらいします。
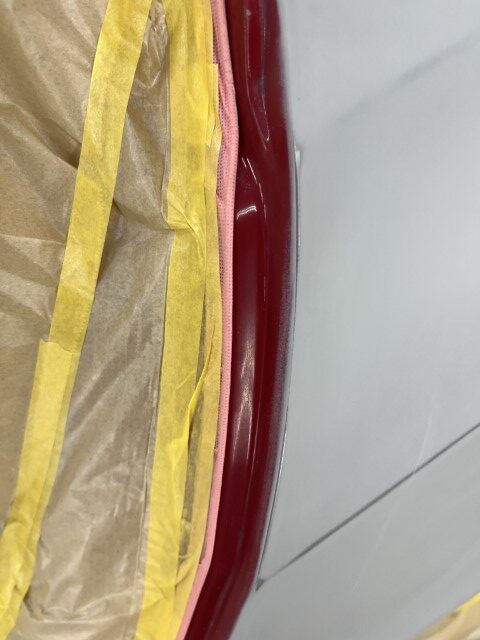
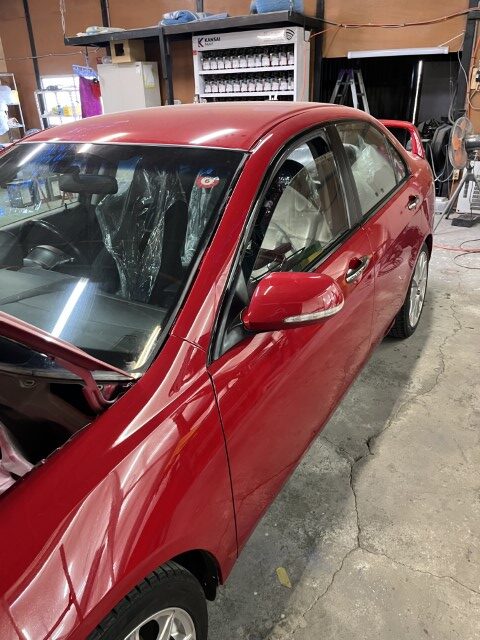
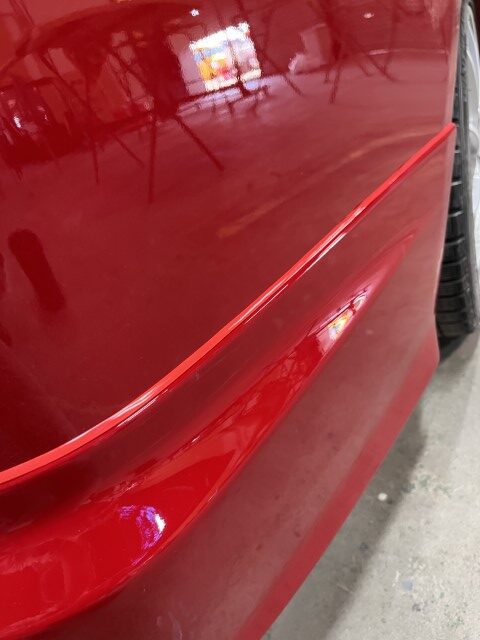
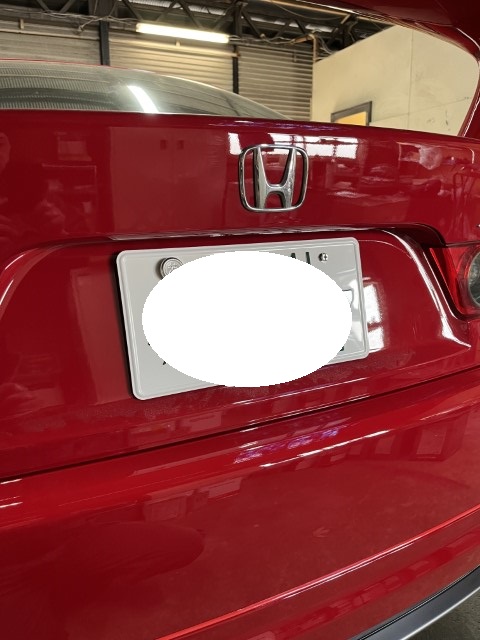
渕ゴムも汎用品になりますが、赤いタイプを使用しました。
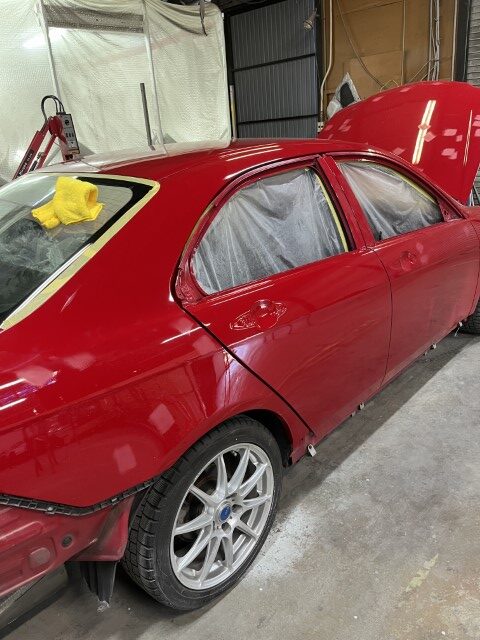
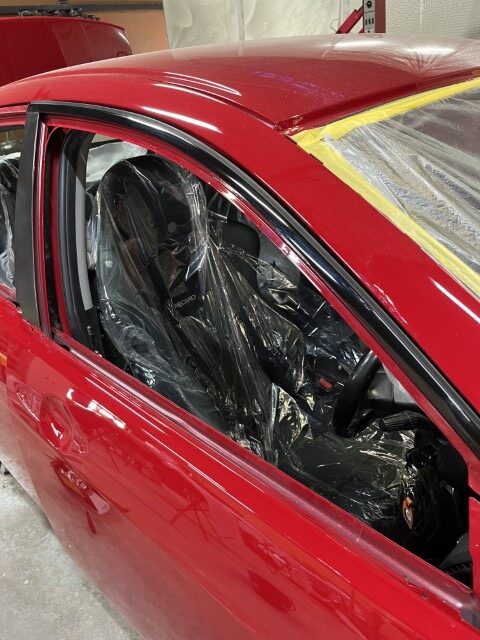
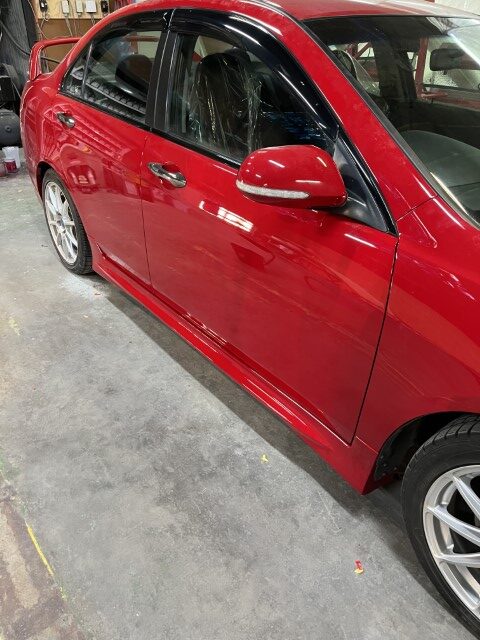
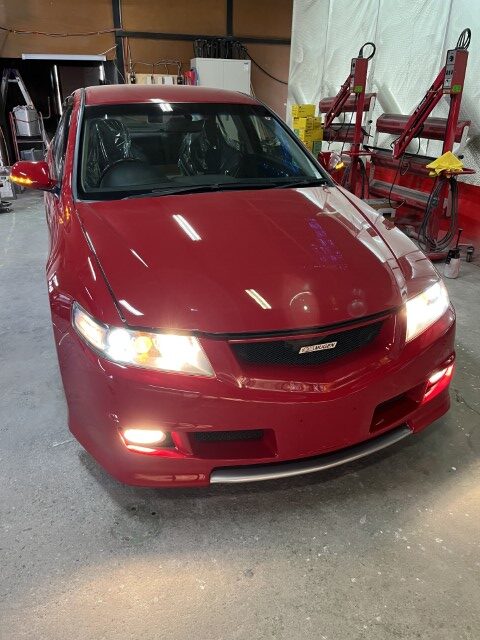
そして電装系を全て確認して完成となります。
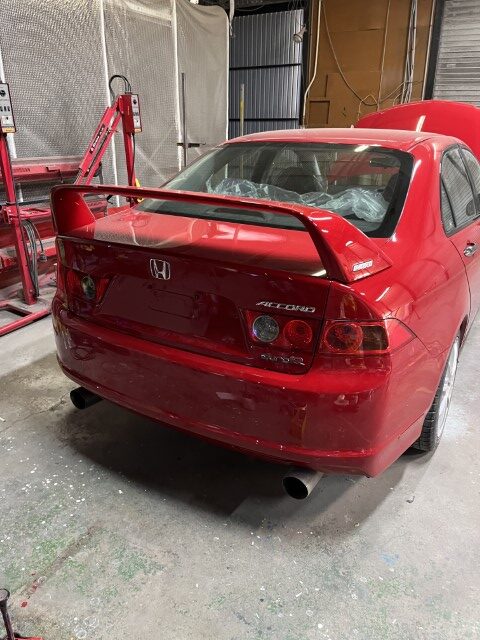
ご利用大変ありがとうございました!!
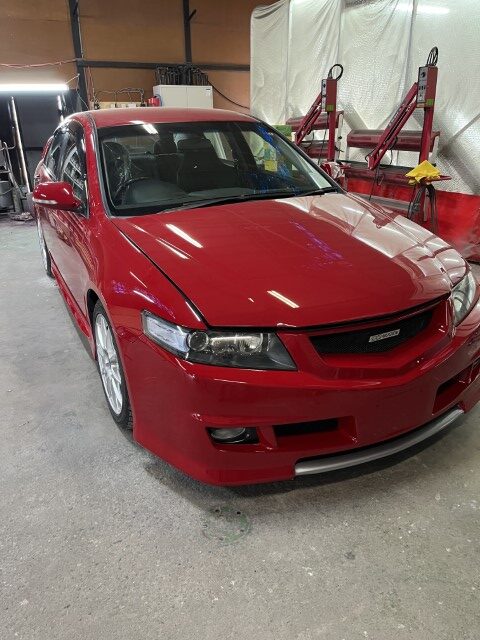
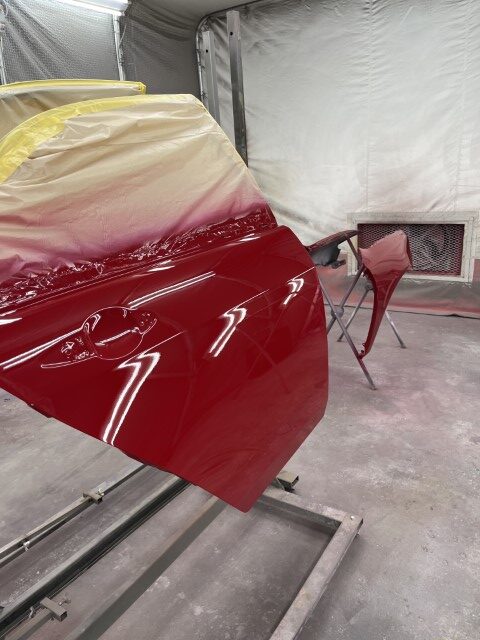
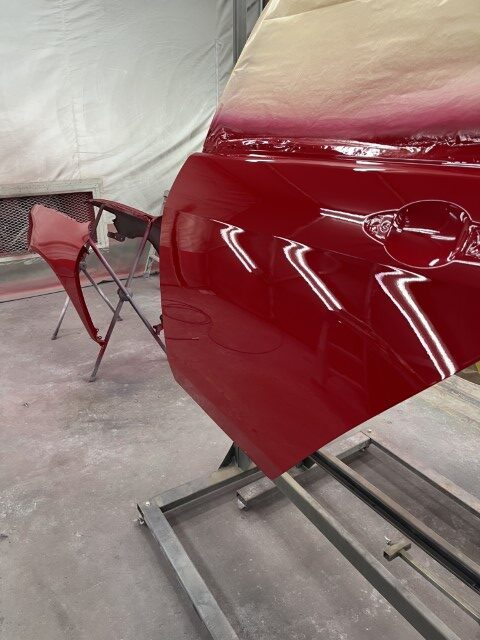
ビフォーアフターです!!